Showing posts with label Crafts. Show all posts

Friday, January 9, 2015

Halloween Projects (we'll call all these number 68)

 As I am trying to catch up on blog posts and projects I finished in 2014, I came across these pictures. I went to a craft day- which is like heaven to me, and made these Halloween signs. Have I ever mentioned that Halloween is my favorite holiday?
Cause it is. Me and Martha Stewart. We both like it the mostest.
 So, I am excited, because coming up at the end of January- here in a few weeks, my friend is hosting another craft day. It will be Valentined themed. I'm so excited I want to go eat pink and red forms of sugar! Valentine's day is one of my favorite holidays too. It's in my top 5 list.
I hope to post those projects much sooner than I did these ones!

Friday, December 27, 2013

Lime Green and Red Christmas Stockings (#59)

12 years ago, I bought a set of 6 matching stockings. At the time, I planned on having more than 4 kids, but six was all they had. So, they lasted us a long time. 
But, last Christmas I knew would be our last time using them since I was pregnant with baby #5. So, I bought some coordinating red and lime green fabrics, and planned to have them finished LONG before Christmas season rolled around this year. 
As you know, this year ended up not being anything at all like I had planned. 
Needless to say, these stockings were NOT done by Christmas Season. In fact, I finished them on Christmas Eve at 7:00 pm.
Just in the Nick of time!
My 6 year old was so worried that Santa wouldn't have anything to put out gifts in!
I hurried and hung them on the "ice cream parlor" Then she was concerned that they weren't hung on the fireplace mantel.... Santa will understand. We have too many to fit there now!

 You can see our tree in the mirror there, we decided to put it in the front room because with the super tall ceilings would could get a really tall tree. Ours is 10 feet and it is beautiful. So, I liked that I had something to hang the stockings on in the same room!
 Here's a few close-ups. I quilted the fronts of them after blanket stitching on the toe and heels. I did each cuff a little different, mixing and matching fabrics and trims. I also made these bigger than our last ones, they were kinda small, and once they had an orange and apple in them, you couldn't fit anything else.
We also didn't have our own names embroidered on the previous stockings, so it was lots of fun to not have to guess whose was whose.
And here they are in the daylight:

And yes, I did notice that they match my lamp shades!

Thursday, June 20, 2013

Card Making- aka what to do after surgery

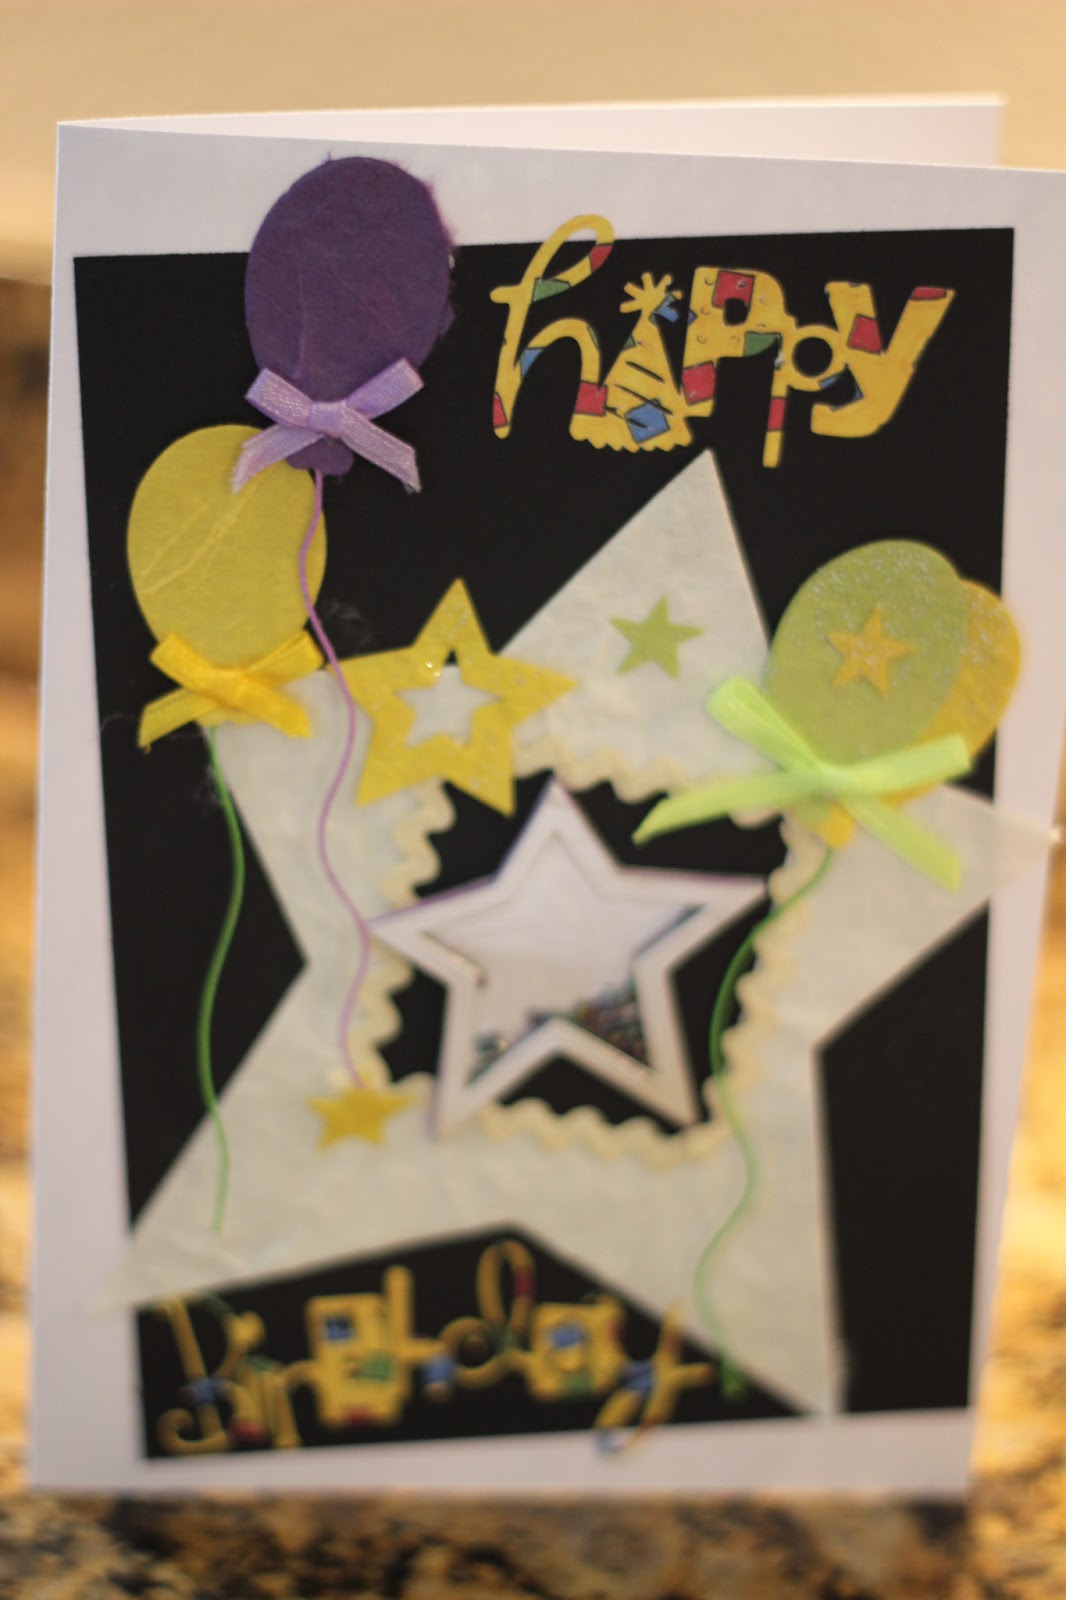
 So, last week I had surgery (very boring- read on!) and with the "down time" I thought I would make some "Thank- You" cards...
 To give to all those people who have given us gifts, or helped us out with the birth of our new baby boy, and the surgery....
 I also made a few birthday cards and Birthday gift tags, because with 5 kids, my kids go to a lot of Birthday parties, and we've run out of cards. And I don't want to spend money on the card- I want to spend it on the gift!
 Plus, I was getting bored of "Thank You" cards and had to mix it up a bit...

 I ended up making a total of 48 cards. That might seem like a lot... but we know a lot of generous people... so actually I hope I don't run out soon!
 I went to my scrap booking stash. Because we all know I'm not going to ever actually finish the scrapbooks I bought all those supplies for- not with those digital scrapbooks around!
 So, I just worked on cards until I ran out of the ribbons, or paper, or brads, or whatever I was using, and then moved onto something else.
 It was fun, but it took me 3 days, and even with the 4 oldest kids at Grandma's house (which was the only reason I could even drag out the paper and leave it all out for 3 days without worrying that it was going to get destroyed, or had to be all cleaned up so we could eat meals in the kitchen!) I wanted the mess gone, and my kitchen back...
 So I put it all away and hope that I have enough cards to last for awhile.
 Plus I ran out of envelopes...
 I liked this card better without the baby foot/hand prints...
 I really don't have anything else to say, but I figured if you were still with me this far, we should keep the conversation going.

 I either took a lot of pictures, or made a lot of cards... or both...


 No wonder this took 3 days?!?!?

That's all, you made it! Whew! (Now I need to write in all those cards... man, I need a nap!)

Wednesday, March 6, 2013

Another Valentine's Wreath?!? (#52)


 Some of you might remember my post about a year ago, when I cleaned out my fabric closet. I made a list of all my unfinished projects, which I taped to the inside of the closet. Then each unfinished project was put in a big bag and neatly stored. This year, in January, I decided to finish all of the Valentine's projects on that list.
So, I used the fabric to make this Valentine's table runner, as well as a small Valentine's quilt (post coming soon)
I was looking at the list, and it said: Red Felt Valentine's Wreath/topiary's

Hmmm.... I thought that was talking about the pink ones that I finished this year:

But it very clearly said RED... then I looked up on the very top shelf, and sure enough, there was a big bag of red felt.
I then remembered that I had all this red felt from when I made poodle skirts for all the girls, and mis-cut one, which left me with a plethora of red felt. Perfect for making these topiary's and wreaths.
I got it down. Bought a styrofoam heart wreath (only $3.47 at Hobby Lobby, less if you use a coupon) and some straight pins.
There is a tutorial for this at The Idea Room... it was a few years ago, so you'll have to search for it. All you do is cut the felt into circles, fold it into quarters, and pin it into the styrofoam. Simple, easy, and don't ask me why I didn't finished it years ago!

 I thought it turned out beautiful, and really looked pretty with all my other Valentine's decorations.

 Confession: Even though I was quite proud of myself for finishing this, I actually have enough felt to make 2-3 more wreaths, or a bunch of topiary's... so my dilemma has been that I don't want to stick it back into the closet unfinished... but who wants to be making Valentine's stuff during Easter season?!?

Friday, March 1, 2013

Valentine's Wreath & Topiary's (#50, and #51!)

I realize that Valentine's Day was so last month! But we are always running a little behind over here. I think these ideas, though could easily be made into St. Patty's Day, or Easter decorations. I'm thinking of making the same wreath (round, not heart-shaped) with green fabric and ribbons for a St. Patrick's Day wreath!

My kindergartner was home from school for a few days. Pink eye. So, she wasn't really too sick to do anything, just still contagious. So, after she helped me take down and put away all the Christmas decorations, I promised her we would make some Valentine's decorations.
All my kids love to craft, especially holiday craft, but this age, they especially seem to love it.
I was trying to come up with something that met this criteria:
1. I already had all the supplies for it.
2. Not too messy.
3. Cute
4. she could easily make it.

I saw this Valentine's wreath here. (If you want a tutorial, you really should go there, because I don't really do tutorials...)

I thought it would be perfect, because I have a whole bunch of scrap fabric and ribbons. she was so excited. I do have to confess that our turned out smaller than the one from the tutorial because the wire hangers that we get from our dry cleaners are like a paper roll at the bottom, and the wire does not continue all the way through. I didn't take a picture, but if your cleaners use the same hangers, you'll know what I'm talking about.
Anyway, we got everything all ready, and then I remembered that there was something wrong. #4. She can't tie her shoe laces. So I helped her a lot, but she was still pretty frustrated.

Epic mom fail.
This is the one she made. I probably need to trim the ribbons... I thought I took a picture of the one I made before I cleaned up the Valentine's decorations, but I guess I forgot... guess I'll show you next year!
so, I made up for it this weekend, with the topiary and the baked clay hearts...
 They at least met the other criteria, especially #3.

You can see my felt topiary's. I finished those while my daughter made her flower topiary.

 Confession: I thought we had enough of these pink flowers, but we ran out... (great, another mom fail!) so we took the greenery off some other flowers and put the ribbon up there to cover our bald spots. She was still happy with how it turned out, so I guess it was ok....

So, that same day, we also made salt dough clay hearts. it was a lot of fun...

 And all 4 of my kids got involved making them.
Dad even had to help, because sometimes the dough got hard to work with, and he had to knead it.

  
We put holes in the "cookies" so we could string them and hang them. After they cooled, we hung them from our light fixtures over the piano and above the dining room table. I also put some in our cake stand, and a heart shaped bowl we had. There were A LOT of them!

I realize that Valentine's Day is over, but you could easily made these for St. Patrick's Day, coloring the dough green, and using a shamrock cookie cutter... or make them for Easter!
Linked to:
The Shabby Nest

Saturday, October 27, 2012

"Boo"-ya! (#42-46)

So last week at our church we had a craft night. I thought I would be spending most of the evening helping to watch the kids that were there in the mursey. So, I was pleasantly surprised when I actually got to do some crafting.
(So I know this only takes a minute to put vinyl on, but I'm still counting this as project finished #42!)
I really got into the crafting groove. About 10 minutes before it was ending, I told a friend, "I think I could keep going another 2 hours."
(Learned how to make these felt flowers... #43... I think if I make the leaves smaller it would make a cute hair accesory)

It seems like in my life right now it's hard for me to find any uninterrupted time for crafting...
(This is a photo pendant that I made there. Those are my 2 youngest girls, hard to see in the picture- I just got a chain so I can wear it now! #44)

The next day I spent a few hours, ignoring the condition of my home, and getting my craft on.
There had been a demo about how to make pendant banners. I've made a few before, but the teacher did a short one that just said, "B-O-O", which is a lot faster to make than a "H-A-P-P-Y B-I-R-T-H-D-A-Y-!" banner. I had some scrap fabric left from when I made my Jack-o-lantern quilt. It was so small, I didn't think I could do much with it, but it was so cute, I hated to throw it out. So, I got the idea to make some mini-pendant banners.
(#45)

I made "BOO!" and a "Spooky" and I have enough left to make a "Beware" one. I decided that since they were so small, it wasn't worth cutting out and appliquing teeny tiny letters, so I embroidered them on. Easy peasy. I ran out of stabilizer, and haven't made it to Hobby Lobby to get more... so that's why "Beware" isn't done.
(#46)
I cut the little scraps that were left to tie on in between. No fabric wasted.
Since I used stuff from my project closet for this- this TOTALLY counts as a finished project!!

Thursday, January 26, 2012

2011 Project Wrap-up

Before I start making my lists of all the projects I want to get done in 2012 (I know, you all already did that- I'm a little slow...)
I thought I should hurry and post a few projects that I actually finished in 2011, and just hadn't gotten around to posting.
So, my new couch came with these pillows that I thought were hideous:
So I made new ones: I actually used the old pillows as inserts for the new ones. The big one in the middle has cording piping around it. I was kinda proud of myself for figuring that one out.
(Project #35)


I also finished this Roman Shade window/door covering for my daughter's room. (Project #36) The lucky girl has her own balcony, but the builder did not include the doors when we got blinds put in through out the house.
She wanted orange. I had a hard time with that until we found this pretty fabric. You can't see in the picture, but it actually has little sparkles all over it. I thought if I gathered it for some rousing, (or is it ruching?) it would look like a fancy dress. Much more feminine than all the other orange fabric she was trying to talk me into.
I lined it with black-out fabric for privacy, and so her room won't bake in our hot sunshine.
Confession: I pulled the strings up to take a picture of the shade when it is up. I broke the string. I haven't told my daughter yet. I will fix it when I get around to making a coordinating window treatment for the other window in her room.