So I had this car seat from my last baby:

Obviously, my last baby was a girl. Actually my last 3 babies have been girls... So, we saw no risk at all in buying a pink car seat.
Then I got pregnant, and believe it or not, this baby is going to be a boy!!! (1 week from today he will be born!)... so I've had a lot of making over to do. Our playroom is decidedly pink. We aren't changing that. Sorry, kiddo. I can't tell you how many little boys have come over to my house and played with our pink kitchen and not minded at all!
But, I didn't want to bring my baby boy home (and all around town) in a pink car seat. But, I also didn't want to buy a new one, since this is only 2 years old. I understand car seats are supposed to be safe for 5 years, and I didn't want to spend money on a new one if I didn't have to.
So, I asked some friends, who recommended buying a new cover for it on Etsy.
The least expensive ones were about $80.00.
Not quite the cost of a new car seat, but still pricey.
Then, I googled tutorials just for fun, and found this awesome tutorial.
So, I decided it was worth a try to do it myself.
I spent only $13.87 on fabric at Hobby Lobby (thanks to 30% off sales and a 40% off coupon)
and ended up with this:

I see no need to reinvent the wheel by doing my own tutorial when there is already such a great one out there, but I will share with you a few tips I learned while I did it.
 |
Take lots, and lots, and lots, and lots of pictures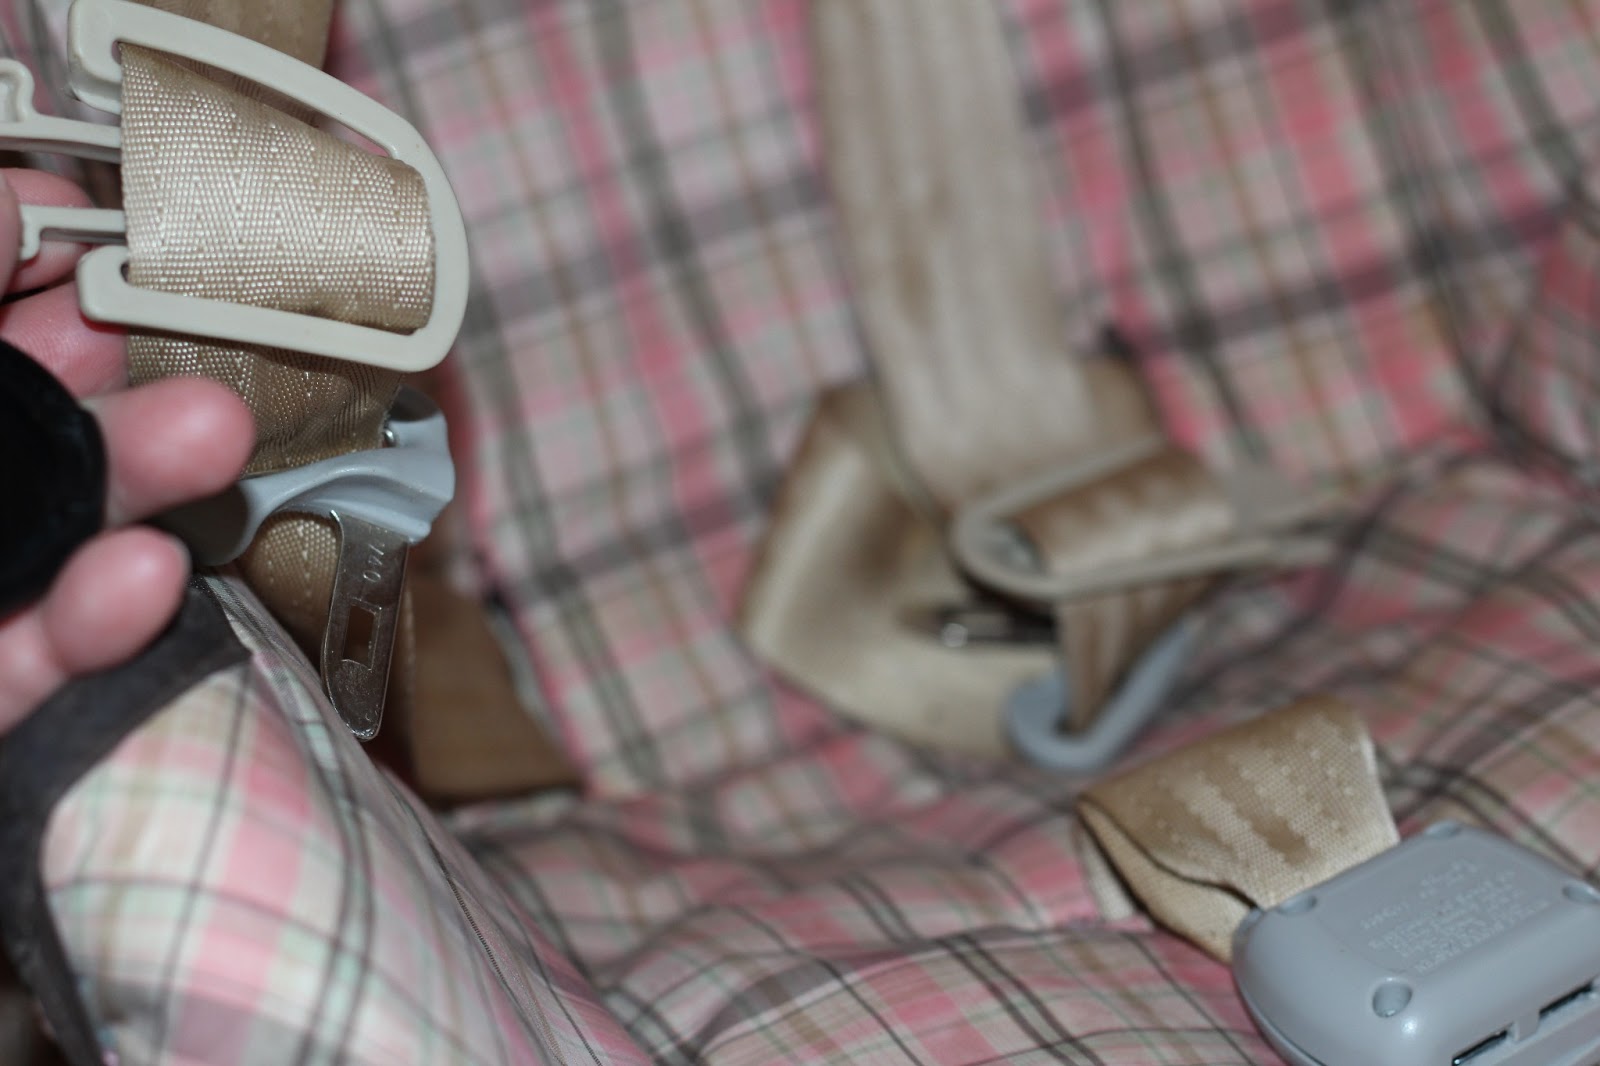 |
Including pictures of how the straps all go back together.

even though both my carseat, and the one from the tutorial were both Gracos, they were really different.
So, take pictures of everything

I'm glad I took pictures of these darts, they were a little bit of a challenge:
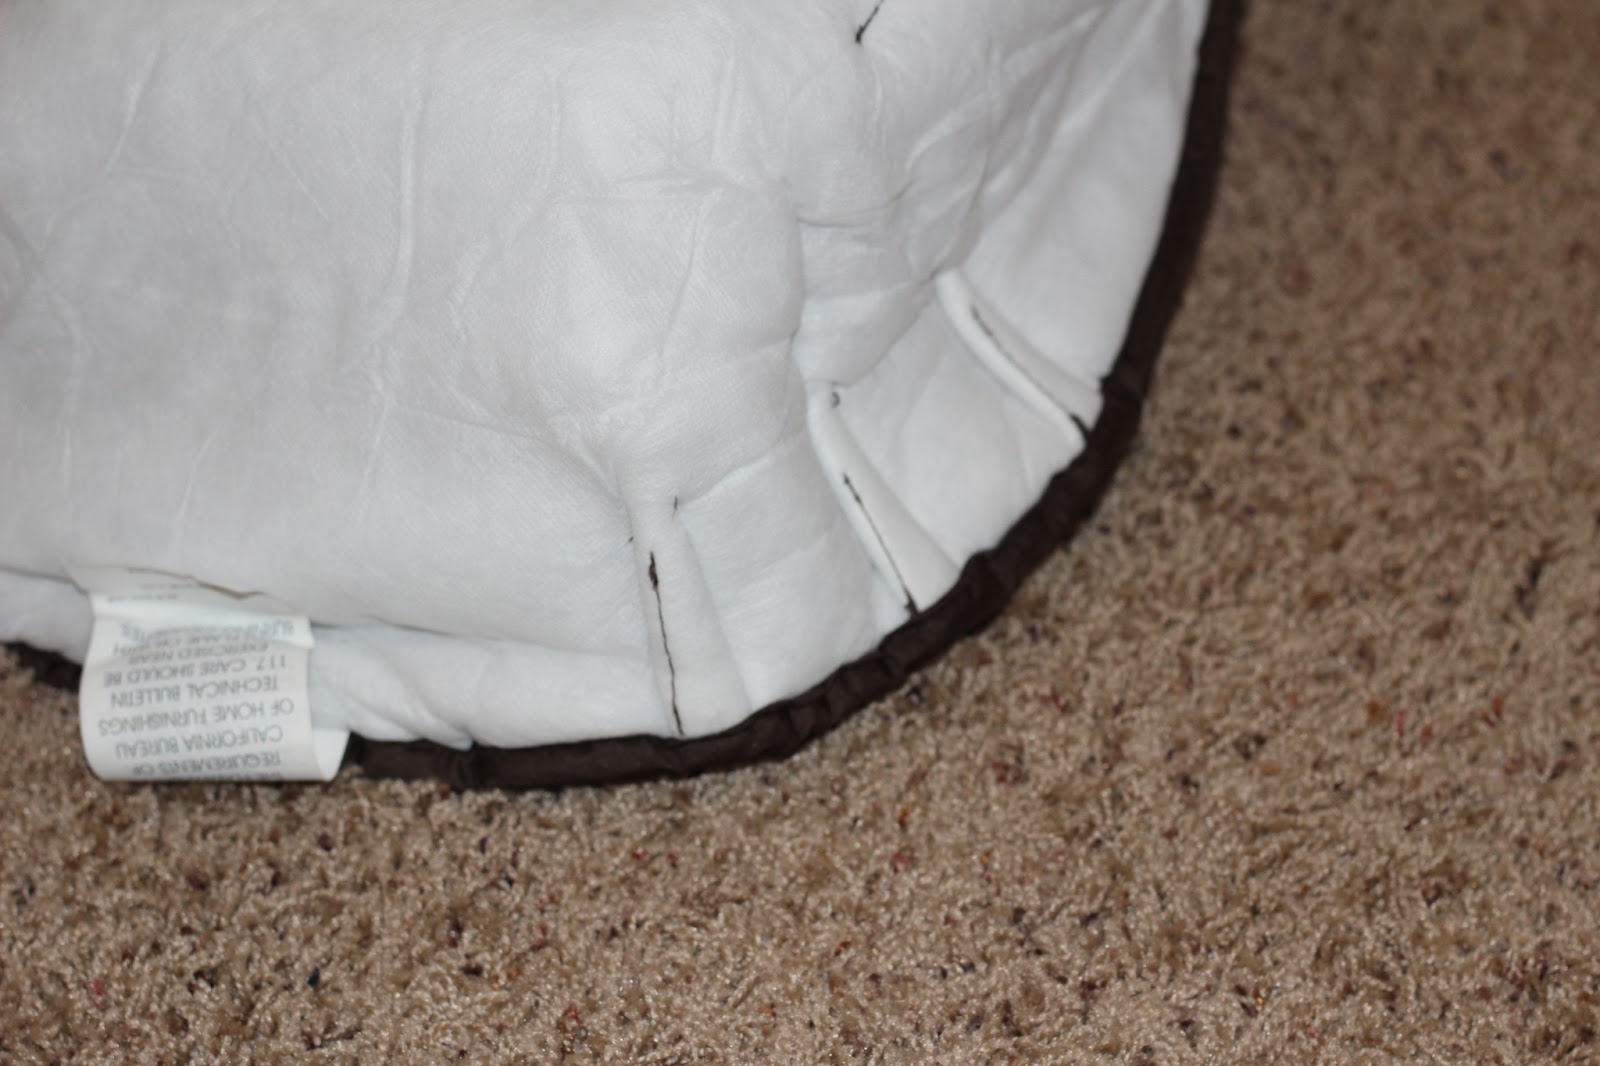
But I got it to work:

And take pictures of each step as you unpick it:

If I had actually referred to my pictures more, I would have saved myself a lot of extra work when it came time to put the binding on...

Also, unpick carefully so you have an accurate template for the pattern.
I was better about looking at the pictures while making the canopy, and saved myself from a lot of frustration...


One thing I wanted to do was make it cute and unique. The tutorial I referred to was being made for a girl, and she put these adorable silk flowers on the top of the canopy.... It took me awhile to come up with an idea that was not girly (still getting my brain to shift gears) and finally decided to applique his initial on the top.

I love how it turned out, and I love how it's still a Z from the other direction!

I also made the new born head rest, again by unpicking the old one and using it for a pattern. (I don't think this was on the tutorial, but by this time I was a pro!)


And I used some strap covers from a friend to make the strap covers.

I had barely enough of the polka dot and squiggly lined fabric, but plenty of the brown minky.

I spent about 3-4 days working on this, so lots of hours, but it wasn't too hard, and I was so excited about how cute each step was turning out, it really kept me motivated!

Plus, being so close to my due date... well, that probably kept me motivated as well....

My biggest tip is to just enjoy how cute it turns out!

Once again, here it is before:

And here is the after:

What do you think?