Friday, November 28, 2014

Bride and Groom Stockings (project 65)


In the sibling gift exchange for my husbands side of the family, we got the name of his brother who just got married this summer. So, I made these stockings for them.
I'm totally loving them, and there is even a part of me (a very, very small part) that thinks a Christmas wedding would be so fun. 
 The groom stocking was a little more work, you can almost see the lapel in the photo below. If I ever make another one, I might not choose velvet. There were some things I loved about velvet, and some things I didn't. It was a first time sewing with it for me.
 It was perfect looking lying on my table, but I wasn't loving the way it hung. But who cares, no one's looking at the groom, right? They're just looking at the bride! And she turned out beautiful!!

(P.S. I'm scheduling this to post after Thanksgiving, so hopefully they will have opened them by then and I can tell you their reaction)
Also, I made some stockings last year that you can see here and some other ones here.

Monday, November 17, 2014

Purple Owl themed baby girl Shower

I threw a double baby shower for two friends having babies at right about the same time! Although one of them decided to wait until the birth to find out what she was having, they both ended up having girls.
So, I think the shower theme was totally appropriate!
I cheated by buying the printable stuff on Etsy, and it was worth it! So cute, and so easily pulls everything together!
With the purple theme, I did grape kool Aid mixed with Sprite, but it was the water bottles that were the most popular. The labels for those were so cute!


We had a luncheon, so there were a lot of lunch foods. One of the mothers-to-be can't eat gluten, so most of the crackers, cupcakes, cookies, etc. were gluten free.
But not these cute owl cake pops!... A friend made these and they turned out absolutely beautiful!!
I also had jars of purple candy, kind of like a candy bar, but it was on the same table as all the rest of the food.
I made purple cotton candy and put them in snow cone holders. I had found these cool egg holders in the Easter clearance and since they were purple, they worked perfectly for the party!


Thursday, November 13, 2014

Thanksgiving Banner (project 64)

These days it seems like it's impossible to get any projects done. 
im. poss. ible.
BUT, once in awhile a miracle happens and I actually begin and finish and project.
This time, it even happened all on the same day.

It started when I went to play group. It was an unusual day for west Texas. 
It was raining.
Just a little bit, but it gave us a chance to use our new umbrellas. (at least for something besides shade) I was surprised to arrive at the park and not find a single other person.
No one else from our really large group was there.
I thought it was good to let my kids experience rain, especially since we hardly ever get any.
I can't imagine a childhood where you never get wet playing in the rain.
I must be the only mom who feels that way.
After about a half an hour, I got a text from one of the mom's saying that due to the weather, we would have playgroup at her house.
So, I went there and there was only her and one other mom. We let the kids play, and I noticed that she had this really cute thanksgiving banner hanging up. 
I looked at it closer and realized that it was all made out of paper. 
Holiday paper. Tied together with jute, and various fall colored ribbons tied in between. 
I realized that I had all the supplies for it at home. I had even contemplated throwing out all my holiday paper the week before since I know I'll never actually finish another scrapbook in my lifetime.
So, I threw the idea at the other moms, ran home and got all my supplies and and we made these banners while the kids played.
Best. Playgroup. Ever.
These aren't very good pictures, but I'd never post anything if I had to have good pictures first.
A close up. I even used my fancy scissors and inker for the edges. It's nice to actually use some of these supplies I've held onto... just waiting for a rainy day...

Saturday, October 4, 2014

"Ready To Pop" pink baby shower

A good friend of mine had a surprise pregnancy... at 41!
She had not saved any babies items from her other 2 kids, so of course, she needed a baby shower!
I was happy to throw it for her, and even happier to have a lot of help!

 A friend from her work had given her a "baby shower in a basket" kit as a gift. She handed it over to me, and I used it! It gave me a perfect theme to do- pink, and "ready to pop!" (that's what the pendant banner says, but it's a little hard to read...)
The kit included crepe paper, so I was trying to think of a creative way to use it.
I had taken my kids to a birthday party earlier in the week, and the mom had used multiple colors of crepe paper in a rainbow pattern like this, so I decided to alternate the light pink and dark pink.
 I loved how it turned out and will definitely do it again. It helps to cover the mirror, which I like. If it was February instead of October, I would have left it up. I did the balloons to go with the "pop" theme.
 Also carrying over the "pop" theme, we did a popcorn bar. I know two of those are empty- I took the pictures before the person bringing them arrived. They were really pretty pink colored pop corn.

(please ignore the staples, I was finishing it the night before... and I was tired!)

Since we did pink lemonaide in the drink dispenser, these were used as prizes for the games.

 Someone also brought a cake that went in the center... I hope someone remembered to take a picture of it!
 I somehow didn't get any pictures of the other room where we ate dinner. We had a few crockpots of soup, rolls, and salad, and all ate around my newly refinished kitchen table (post coming soon) and outside since it was so nice.
I made a cute diaper cake for the center piece... too bad y'all don't get to see it!


I was so glad when someone suggested taking a big group picture! What a fun memory!

Sunday, June 22, 2014

Front Door Makeover (project 63)

On Memorial Day my husband took my oldest 4 kids camping. I stayed home with the baby. Because a 13 month old is a nightmare on a camping trip!
So, I took advantage of it, and got a lot done here!
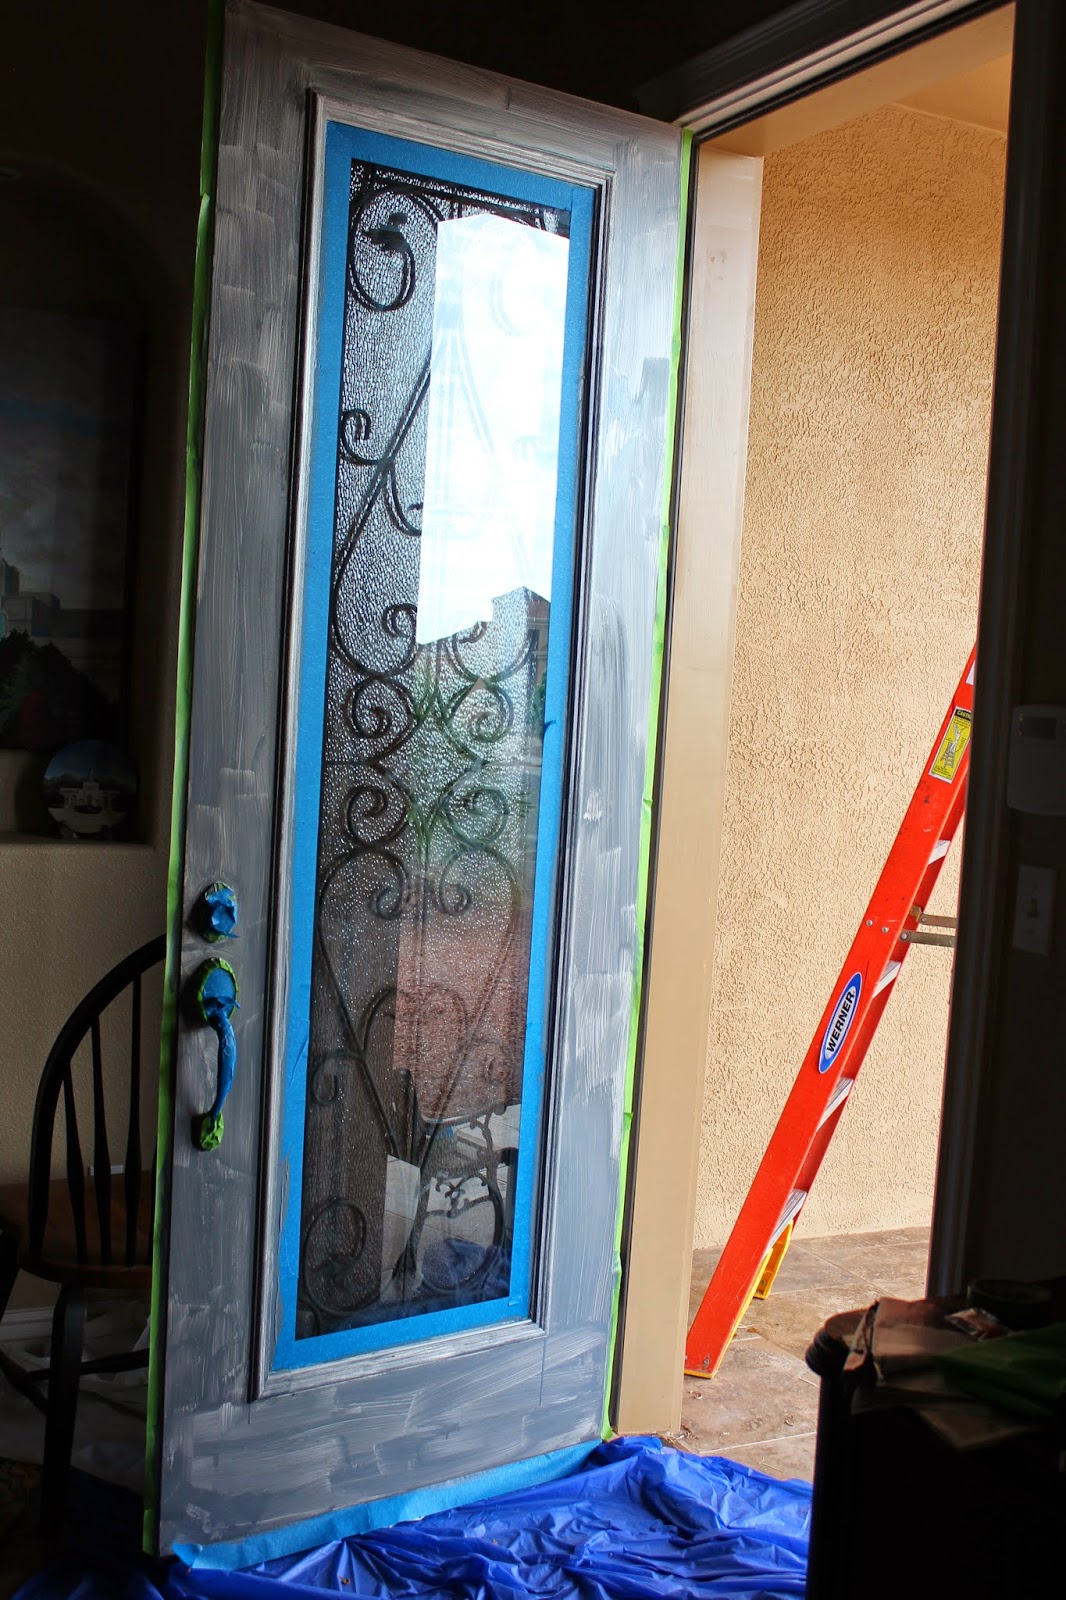
I finally pained my front door.
I've had the paint since last summer...
when I went to visit my brother and he and his wife had painted all the doors to their house and shed this awesome color of blue! they gave me the rest of their paint!
So, I've been planning on it for awhile, and finally had a day without kids running in and out the door so I could do it!
Here's the before:

It seems like taping and prepping take the most time.

I put this primer that is for dark paint on. Something was seriously wrong with it. It was way too runny and thin and caused more problems than anything.
But, I love how it turned out. I just can't seem to get a good picture of it because we have way. too. much. sunshine here.
 Well, my husband didn't like it. But I do. I think it needs some more bright colors out there with it. Maybe some bright colored pots with bright flowers.
Maybe it will grow on him. After all, it does make our house quite different from all the other beige blahs in our neighborhood, and he is always complaining about having a house the same as everyone else's.

Wednesday, June 18, 2014

Love Sac Cover (project 62)

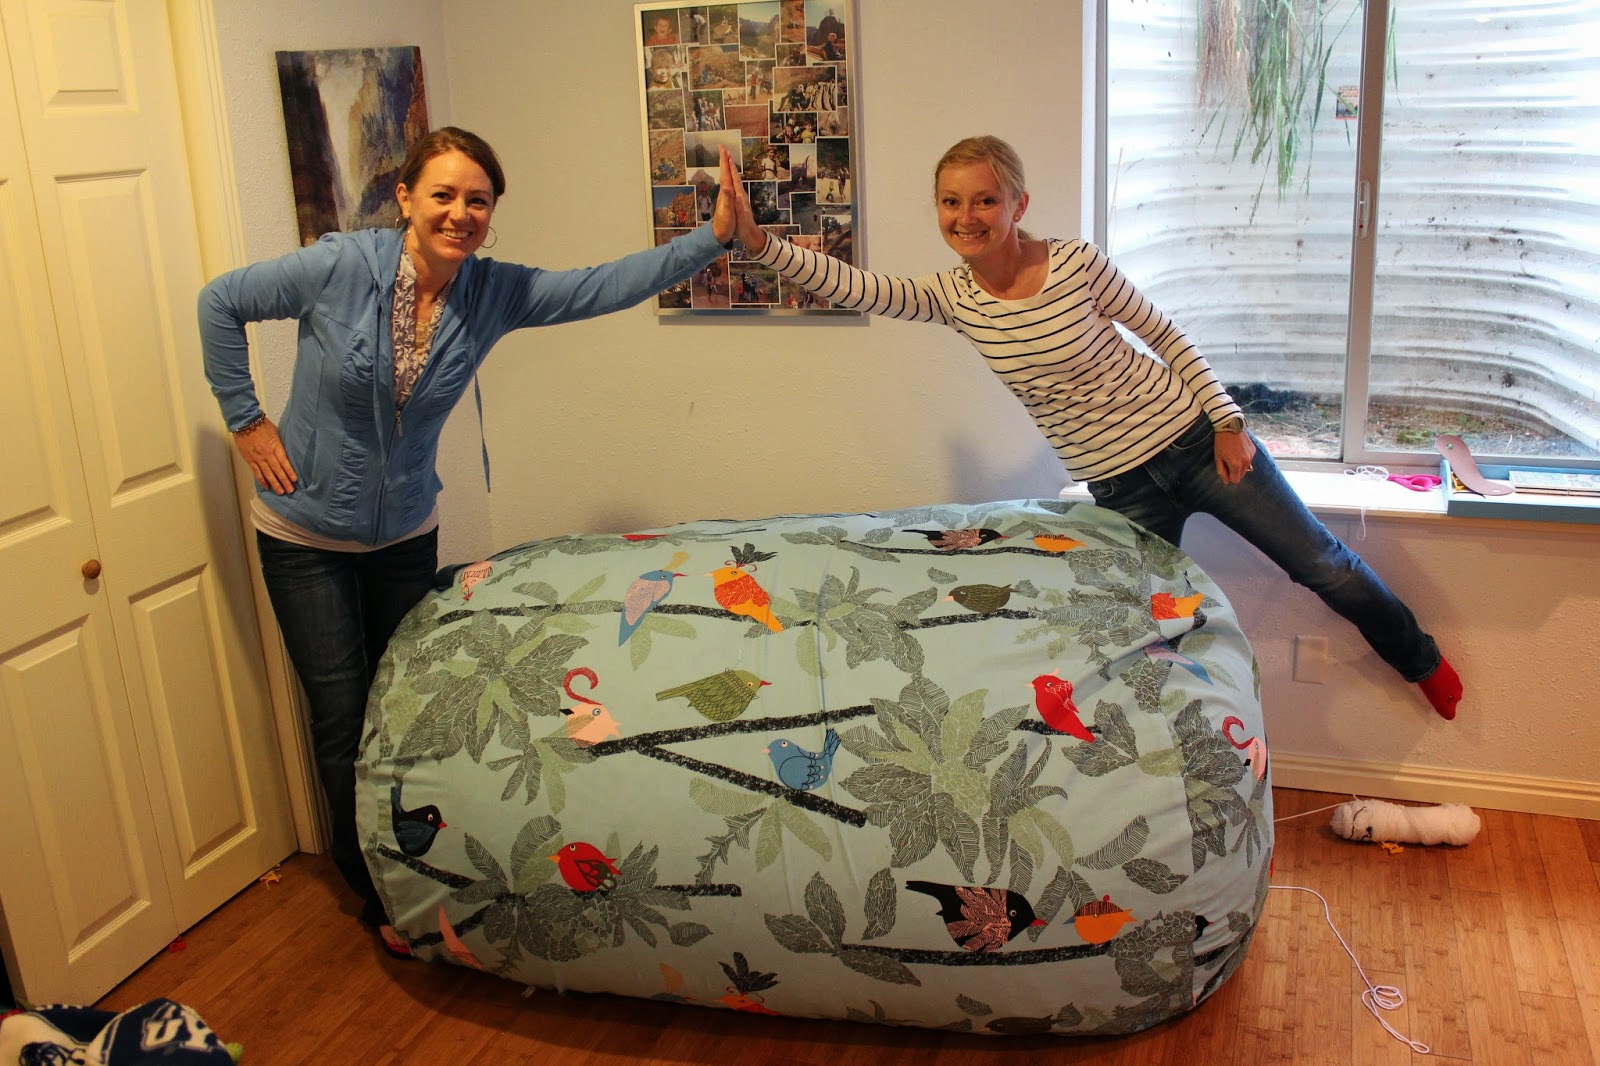
While in Utah for a family wedding, I got to hang out with my sister-n-law and my sister. SIL wanted to make a cover for her Love Sac (which is a giant bean bag. Except that it's not filled with beans. It's filled with shredded foam... very comfy) You can see the Love Sac in the background. It had morphed into a shapeless blob. She wanted to make a cover for it that would give it more structure and shape.
 Buying a Love Sac cover costs about $300. She had seen an idea on a blog where you could sew a big tube and then circles on the end- like a giant bolster pillow- for a lot, lot less. So she bought $50 worth of fabric instead, and we got to work figuring it out.
 Once we figured out the circumference of the sack (after measuring it and taking off about 12-15" that we wanted to "squish" it) we dusted off our old Algebra skills to figure out the diameter the circles needed to be. (you can see her cutting out the circles in the pictures above.) And by dusted off, I mean, we googled the answer...
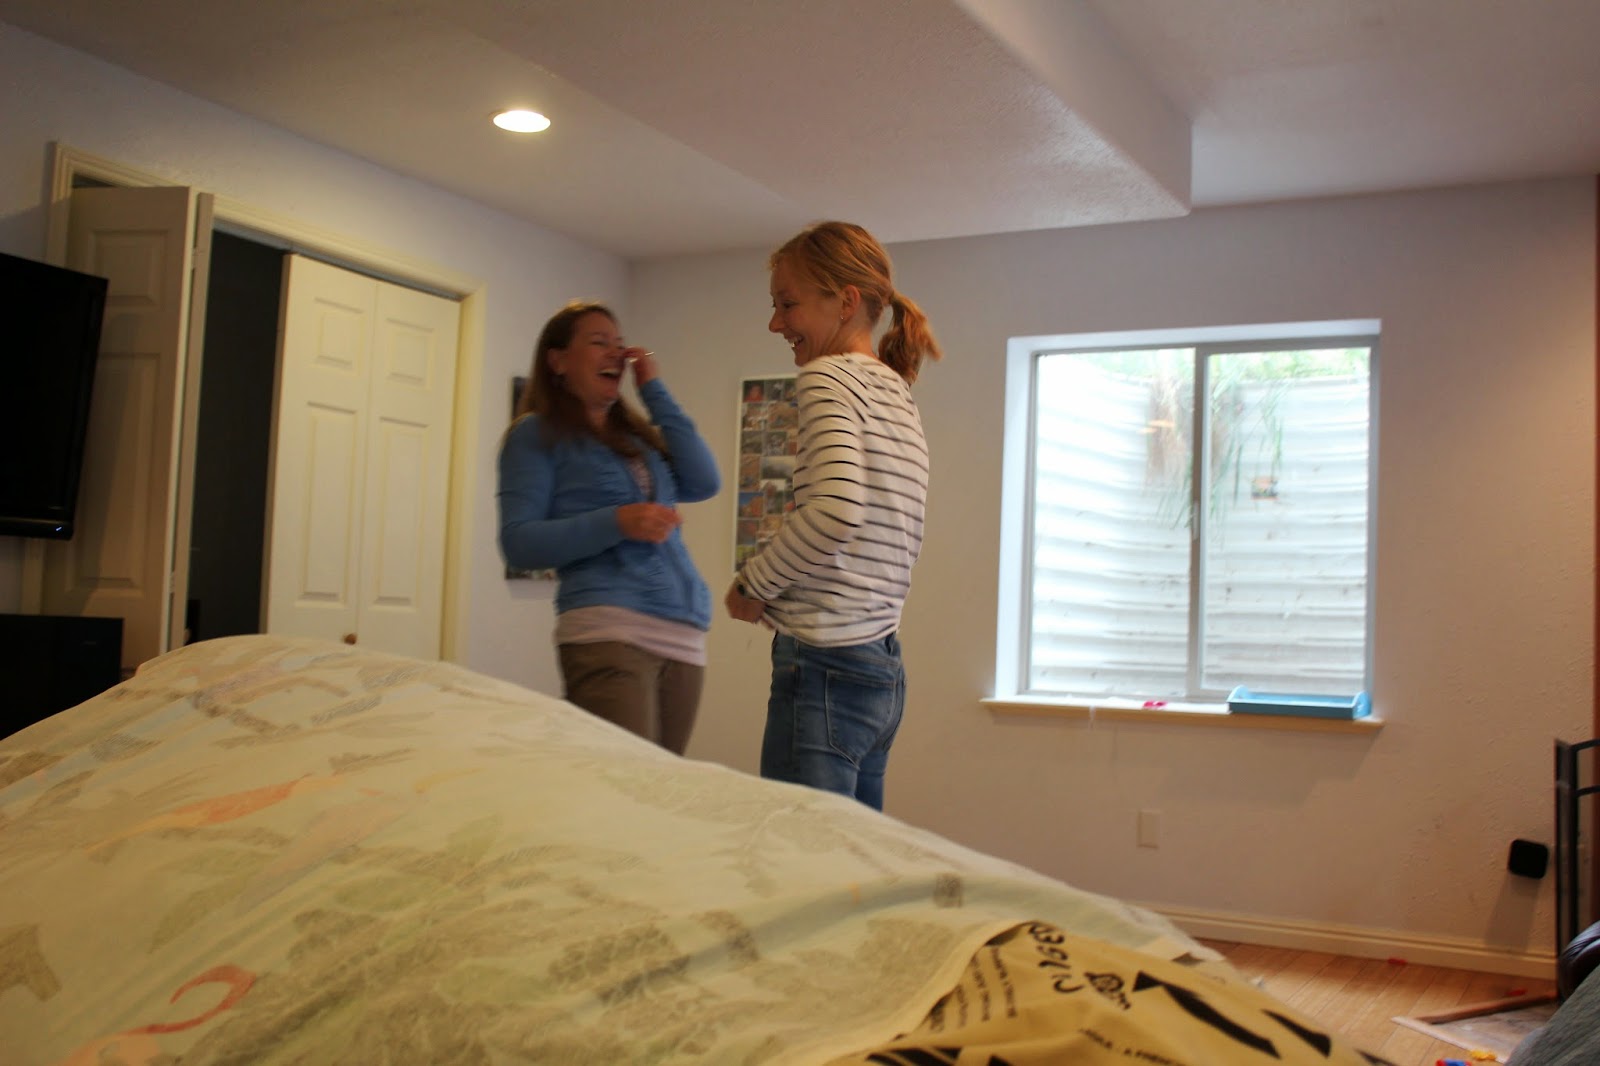
 She sewed the tube, and we tried it on for size.
 Which was a difficult and somehow hilarious process...
which is why we are laughing our guts out!
 Then we unpicked it so we could sew velcro along the whole opening, because we (wisely) decided that would be the easier way to get it on and off. (Because it is highly likely that it will need to be washed at some future date. And/or she will want to sew a different one to change up her decor with the changing seasons... at least, that's what my sister- the photographer not pictured thinks)
Oh, we were so wise. Stuffing it in was a 4 person job. Which meant no one could take pictures of it!
Oh, and we also sewed the circles on the ends. Which had to be eased in, which just goes to show that algebra is not a perfect science.
 But we got it on- and BAM! shape, structure, less blob-like, and stylish fabric focal point of the TV room.
So of course we high-fived each other for a job well done!
 And then we tested it!

 And then we let my brother and 2 of my daughters test it out!
 And in the midst of it all, my nephew never missed a beat on the video game he was playing!
AND, just in case she does decide to make another one, since this turned out so fun and awesome- here are the dimensions- so we don't have to repress our creativity with any more math and algebra!:
Radius: 21"
Diameter: 42"
Circumference: 132" (but do a little more so plenty of overlap for velcro and hem)
Width: 59"
But, before you forget, put in the comments how many yards of fabric you bought- because it was the perfect amount.