Thursday, September 22, 2011

Princess Party Games


(See Previous Post for Decorations and Party Favors)

The Games for the party were simple, age-appropriate, and most importantly: Princessy

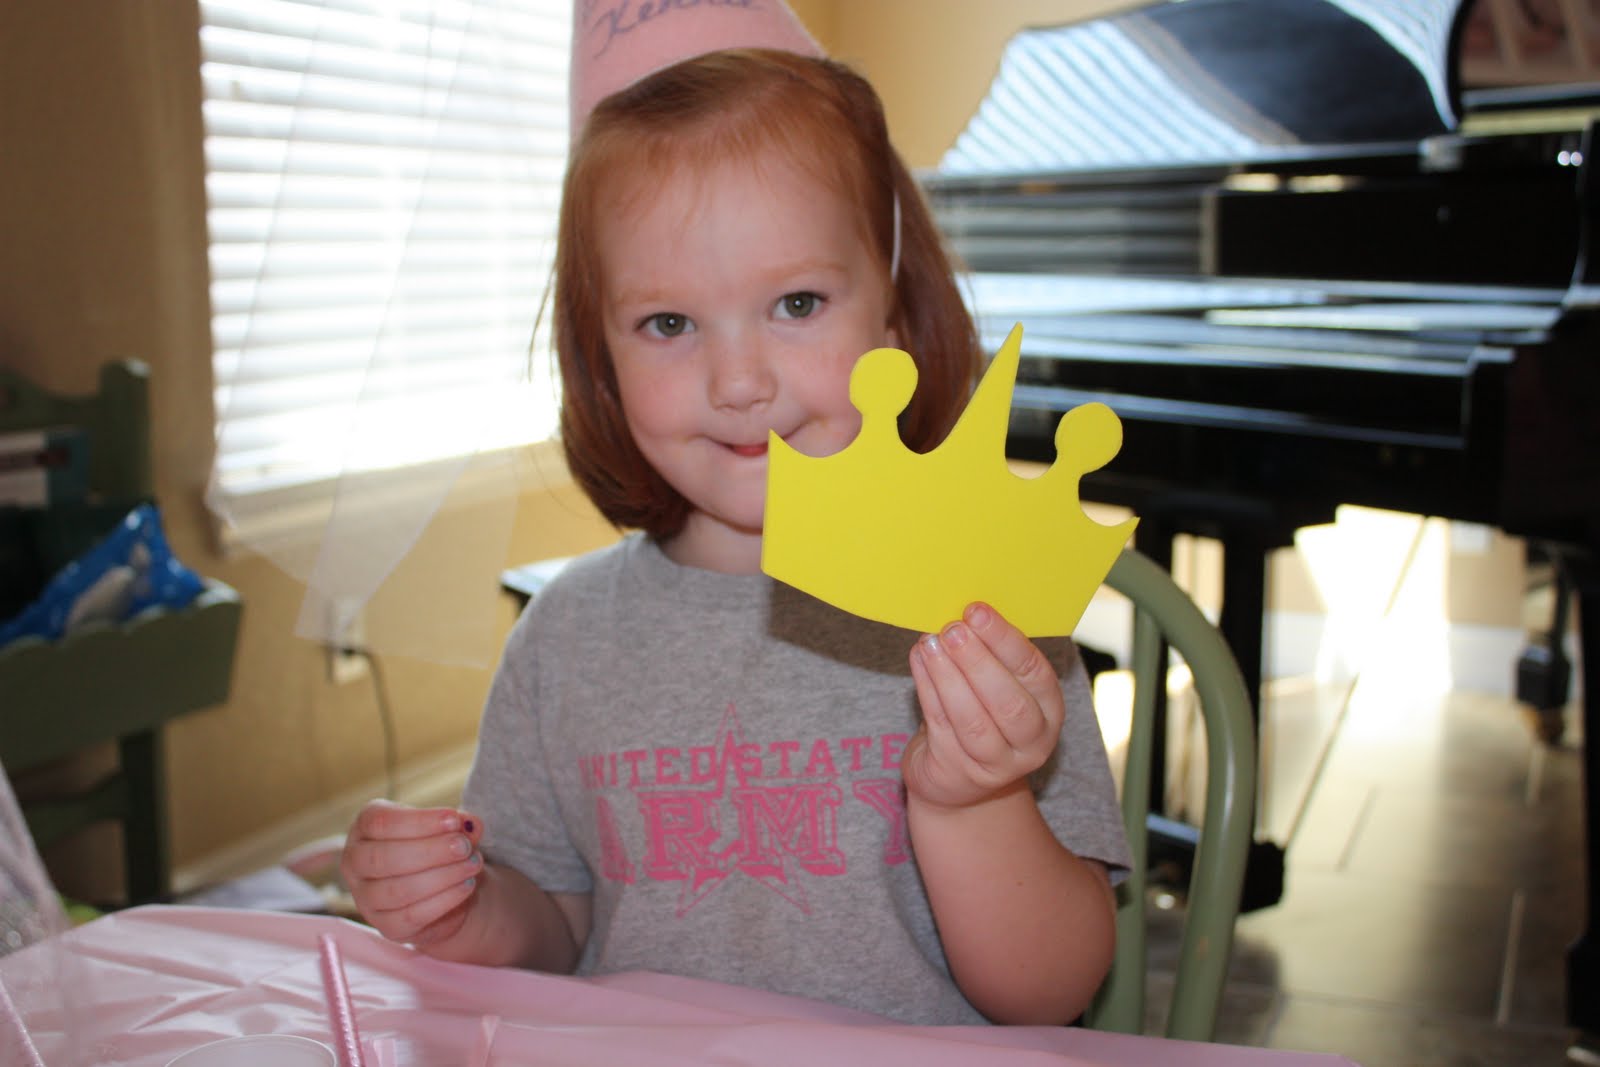
When each girl arrived, along with her Princess hat, wand, and skirt, she also had a princess crown to decorate with sticker gems, and color with markers.

We used those crowns for a fun game of "Pin the Crown on the Princess"

We decided that there was a tie, so two Princesses got to choose a jewel from the Royal Treasury (These were ring pops that I had re-packaged in clear cellophane bags and silver ribbon)

The poster was made from this picture that I took to Sam's Club and had made into a 20x30 inch poster. I had the option to put text on it. All I could think of was her name, and age 4. Later I thought that I should have had it say "Pin the Crown on the Princess"
It cost about $8.00 I think.

We had also used this same picture for her invitations. (Which I can't put a picture of because my camera battery charger is lost...)

Funny story: The dad of one of the girls who was invited went up to my niece at church on Sunday and said, "I saw your picture on an invitation. You looked so pretty all dressed up like Cinderella!" She just stared at him. I guess they do look a lot alike. (She's the one on the left. Other cousin is on the right)

The next game was my daughter's favorite: Duck, duck, goose. Except we played it, "Frog, frog, Prince!"

Then we tried to play "Princess may I?" (just like Mother May I). I was the princess, although around these parts, I'm usually referred to as "The Queen"

The only ones who really understood it were the 5 year olds... and it was getting hot, so we went back inside and played "Musical Thrones" to the sound of Ariel singing.

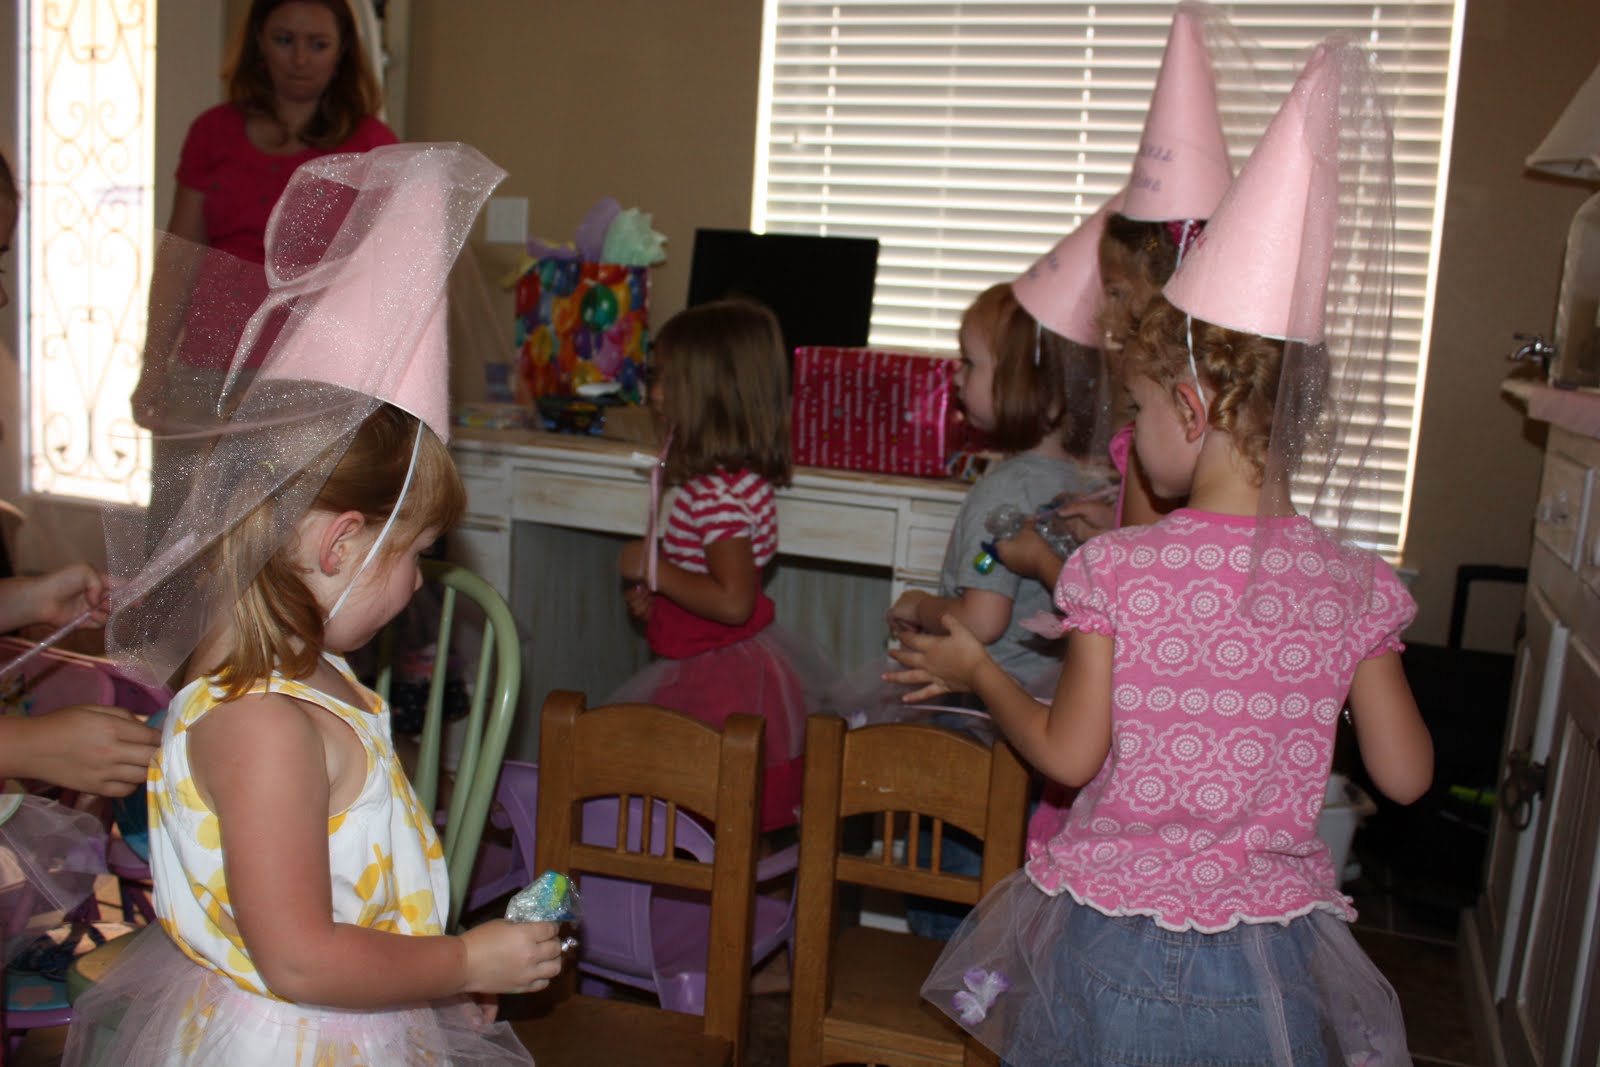
The girls had a great time. With those classic games (I remember playing them at parties when I was a little girl) you really don't need expensive party venues.

Thursday, September 15, 2011

PRINCESS PARTY with (#28) Sixteen Princess Tutus and (#29) about that many Princess Party Hats & (#30) A Happy Birthday Banner


My little girl turned 4 this past month, and wanted a Princess Party. Our theme was a pretty generic pink princessy theme, but also a little bit Cinderella.
And it was full of lots of fun projects. I try not to go overboard on birthdays and spend a lot of money, but we love birthday parties in this family, so we also try to make it special. I think I found a pretty good balance here.
I'll start with the tutu skirts I made. I made 16...

That's right- 16!

These are super easy, and thank goodness, because I had a crazy week (kids started back to school, I taught a Relief Society class on gardening, went to 3 doctors appointments, baked a cake, a bunch of cookies, made princess hats, and oh, ya! I threw a Princess Party with 13 little 4 year old princesses!)
We put them over each chair. I had 3 little tables, but had to borrow some little chairs to make it 4-year old sized.

These just took 4 yards of pink tule, 5 bunches of pink flowers from Walmart, and 1 purple lei from Dollar Tree, (This would have been the best to use for all the flowers, but they only had 1 in a color that would work for this) and 8 yards of elastic.
Total Cost: $13.85
Total time: About 4-5 hours.
Totally Worth It!

I got RSVP's for a total of 13 girls, so we had a few extra, in case some showed up who forgot to RSVP.

The hats were made (after playing around with paper to get the pattern right) with poster board, stapled and hot-glued together. Then I embroidered each Princesses name on pink felt, and glued it onto the poster cone. Then I glued tule in the top, and elastic at the bottom.

I'm happy to report that not a single hat got broken during the party. The only thing that broke was the wands I bought from Target. I guess they were made in China. Definitely not as well made as the skirts and hats.
After each girl found her chair with her hat, wand, and skirt, they got to try them on in front of the magic mirror.

The other craft project I did was this "Happy Birthday" Banner. I had made it a few months ago for a friends surprise birthday party (it has more close-up pictures, and some fun ones about how we moved the furniture around), and meant, and still mean to embellish it with some ribbons and stuff (and then take some better pictures for you!)
When I made it, I did it double sided so that when it wasn't a birthday, I could hang it in the little girls playroom for just a cute year-round decoration. It really works, since I used the scraps from the toy kitchen I made, the girls aprons, and the baby's quilt and bumpers, so it all matches!
The only other decorations we used were a few pink balloons, and a Princess poster for a game.

Thursday, August 25, 2011

Fun With Fondant


So, my friend Sara taught 2 more cake classes before she moved. One was on how to make fondant and cover a cake with it.
This is the cake I did that night:
It's really not very impressive, but I was getting so tired, I stopped caring. That's when I knew I should just go home and go to bed (I don't do well at these night classes)
The next week we learned to make figures with fondant. I made this little bumble bee guy:
He actually turned out so cute, I feel bad that the pictures don't show it.
My husband says it's time for a new camera. I agree, except that I want a really nice one, and then I want to take a photography class to learn how to use it well, and how to edit the pictures I take on photoshop, and well, I just don't have time for that...

So just take my word for it. This little buzzer is cute!

Sunday, August 21, 2011

(#27) A Brick Wall to Beat your Head Against...

LinkWow! This turned out big. It's roughly the size of my garage door. (Which is intentional) What are we doing with a cloth version of a brick wall? Here's a clue The paper ones don't hold up, so we decided to go with a cloth one. A drop cloth that is.
We started with a big drop cloth, 2 sponges, and 5 little bottles of paint.
A little hint: sponges and drop cloths absorb a lot of paint. We finished 1 small corner before we ran out of paint. At $1 a bottle, it was going to cost me at least $30 in paint...
So I went to Lowe's and they color matched the paint, I bought the cheapest flat paint they had, which was about $11/gallon. We used almost the whole gallon.
I used my electric knife (that fun wedding gift that I keep forgetting I have) to cut the sponges to the size of a brick. It was so easy. We didn't mark anything, just kept eye balling it to make sure it was straight, and left about 1/2 inch space between each brick.
Just dipped the sponge in paint and pressed it lightly onto the cloth.
It's so easy, a 9 year old could do it (and she did most of it!)

Besides the one the size of the garage, I also did 2 sections 3 foot-by-9 foot that I then sewed together so that they overlap. I also sewed a rod pocket into the top of each one. Hopefully that will help us to hang them when the time comes... look for a post the end of September to see what we do with them...

Tuesday, August 16, 2011

Another Wedding Quilt! (no. 26)


So here it was just before we left on the 2 hour drive to the wedding:
(I still had the binding left to do! I had finished all the machine sewing the night before I flew to Utah for the wedding. I only had 1 small corner left to hand sew while we drove!)
I finished the last stitch just as we pulled into Cache Valley! I know, it's cutting it close, but that's how I roll... and at least it was finished before the wedding!
What a beautiful bride! How fun to have a picture of her with the quilt!

And this seems to make it extra special: having their name and wedding date embroidered on the back.

and here's one more picture of me with my baby and the bride:
and now for the confession: Remember that the reason for this blog was to help me start finishing all those un-finished projects I had? Well, this was one of them. I had started it 3 years ago for my brothers wedding. I finished the blocks, but realized I wasn't going to be able to finish it before the wedding. I decided to give money instead, and since I had that brothers name for Christmas that year, I planned to give it to them then. Sadly, the marriage did not last until Christmas, and this quilt has been waiting in the fabric closet since then. So, it was already half done, just waiting to be a wedding quilt...

Thursday, July 14, 2011

Never Give Up!

So the other night I hosted a cake decorating class at my house. I go to church with a professional cake decorator (below, on right- you can see her work here) who is about to move! So, we had talked for months about doing some classes, and it was now or never!
Only one other person came, my friend, Isabel (who is wonderful because she holds the baby and rocks her to sleep) I have decided that this is the perfect size class. If it was any bigger, I never would have been able to master making butter cream roses!

That's right! I finally mastered the butter cream rose! I have taken many classes before, been taught, and practiced till my hand hurt, but could not make a frosting rose. As usual, I tried, and tried, and all my roses got dumped back into the frosting bowl. I finally said, "See, I just can't do this!"
I realized as soon as the words were out of my mouth that I sounded just like my 9-year old daughter when she practices the piano... don't know where she gets it from.
That only brought out the Peruvian stubborn streak in my teacher (I actually don't know if people from Peru are stubborn since she is the only one I know) and she would not let me quit (thank- you Sara!) until I got it.
She taught me to do it backwards from the way I had always been taught before, and I finally got it! Backwards.... should have know that would work, since my brain is hardwired backwards.

Here's a close-up of these lovely roses.... I'm so proud of myself!