Thursday, June 20, 2013

Card Making- aka what to do after surgery

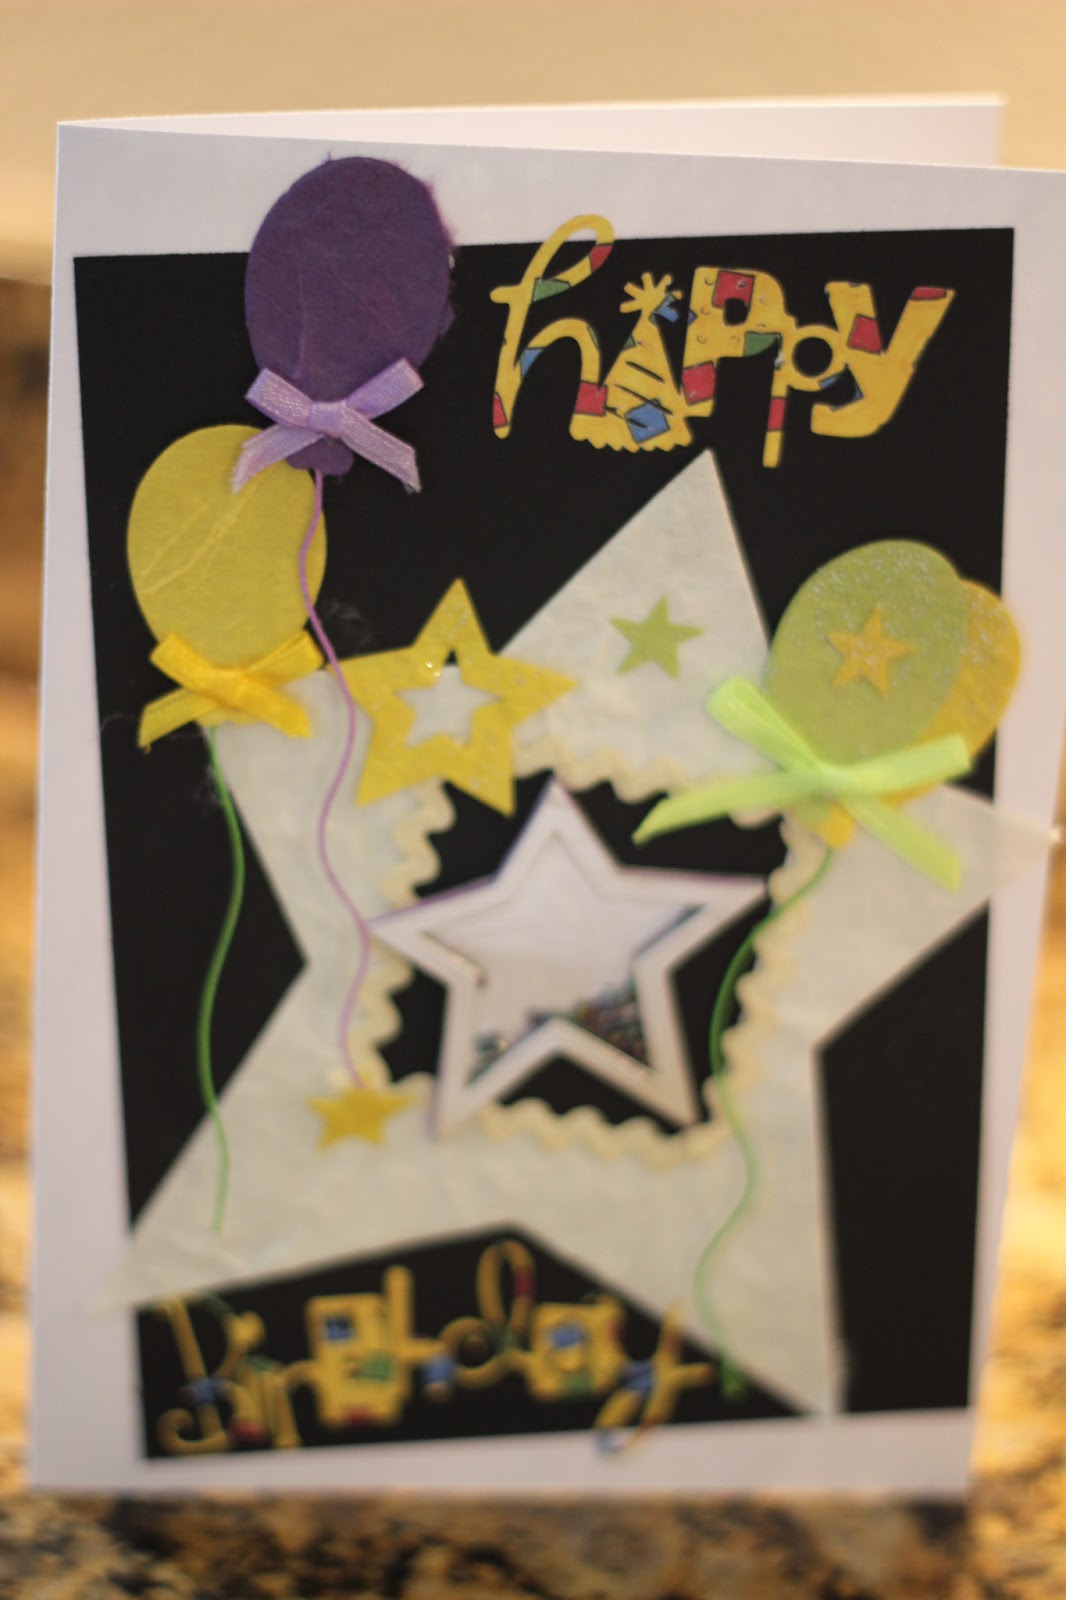
 So, last week I had surgery (very boring- read on!) and with the "down time" I thought I would make some "Thank- You" cards...
 To give to all those people who have given us gifts, or helped us out with the birth of our new baby boy, and the surgery....
 I also made a few birthday cards and Birthday gift tags, because with 5 kids, my kids go to a lot of Birthday parties, and we've run out of cards. And I don't want to spend money on the card- I want to spend it on the gift!
 Plus, I was getting bored of "Thank You" cards and had to mix it up a bit...

 I ended up making a total of 48 cards. That might seem like a lot... but we know a lot of generous people... so actually I hope I don't run out soon!
 I went to my scrap booking stash. Because we all know I'm not going to ever actually finish the scrapbooks I bought all those supplies for- not with those digital scrapbooks around!
 So, I just worked on cards until I ran out of the ribbons, or paper, or brads, or whatever I was using, and then moved onto something else.
 It was fun, but it took me 3 days, and even with the 4 oldest kids at Grandma's house (which was the only reason I could even drag out the paper and leave it all out for 3 days without worrying that it was going to get destroyed, or had to be all cleaned up so we could eat meals in the kitchen!) I wanted the mess gone, and my kitchen back...
 So I put it all away and hope that I have enough cards to last for awhile.
 Plus I ran out of envelopes...
 I liked this card better without the baby foot/hand prints...
 I really don't have anything else to say, but I figured if you were still with me this far, we should keep the conversation going.

 I either took a lot of pictures, or made a lot of cards... or both...


 No wonder this took 3 days?!?!?

That's all, you made it! Whew! (Now I need to write in all those cards... man, I need a nap!)

Friday, May 3, 2013

A Cell Cake


 So I guess here in Texas, 6th grade science students are assigned to make a 3-D model of a cell. An edible 3-D model of a cell. It can be either a plant or animal cell. My son chose to make a cake, including fondant.
 I had to keep telling him to make the fondant pieces smaller so they would actually fit in our little, tiny ball cake. But, I think in the end he did a great job.

I'm happy to report, that I also actually remember some of the names of the parts of a cell from when I took science... just a few years ago.
I drove him to school, which I don't normally do, so that his cake would arrive unharmed. That may have been a mistake, since he ended up getting there early, and after turning in his cake, decided to go outside and play soccer with some other kids until school started...
He got tripped playing soccer, and broke both his arm bones (which I believe are the Ulna and the Radius- see I remember lots of things from science!) and now is in a cast and can't play soccer at all.... So this smug little smile you see below?- that was the last time he smiled all day... even after the morphine kicked in at the ER...  As much work as the cake was, I wish it had fallen and gotten broken instead...

UPDATE: 5/3/13 3:52 PM
MY SON INFORMED ME THAT HIS CAKE WAS VOTED MOST ATTRACTIVE! THAT MEANS THAT HE GETS EXTRA CREDIT! AND TO THINK WE WERE GOING TO TRY AND WIN MOST DISGUSTING AT ONE POINT! THERE WERE 3 AWARDS: MOST ATTRACTIVE, MOST ACCURATE, AND MOST DISGUSTING!

Thursday, April 4, 2013

Car Seat Make-Over #54

So I had this car seat from my last baby:
Obviously, my last baby was a girl. Actually my last 3 babies have been girls... So, we saw no risk at all in buying a pink car seat. 
Then I got pregnant, and believe it or not, this baby is going to be a boy!!! (1 week from today he will be born!)... so I've had a lot of making over to do. Our playroom is decidedly pink. We aren't changing that. Sorry, kiddo. I can't tell you how many little boys have come over to my house and played with our pink kitchen and not minded at all! 
But, I didn't want to bring my baby boy home (and all around town) in a pink car seat. But, I also didn't want to buy a new one, since this is only 2 years old. I understand car seats are supposed to be safe for 5 years, and I didn't want to spend money on a new one if I didn't have to.
So, I asked some friends, who recommended buying a new cover for it on Etsy.
The least expensive ones were about $80.00. 
Not quite the cost of a new car seat, but still pricey.
Then, I googled tutorials just for fun, and found this awesome tutorial.
So, I decided it was worth a try to do it myself.
I spent only $13.87 on fabric at Hobby Lobby (thanks to 30% off sales and a 40% off coupon)
and ended up with this:
I see no need to reinvent the wheel by doing my own tutorial when there is already such a great one out there, but I will share with you a few tips I learned while I did it.

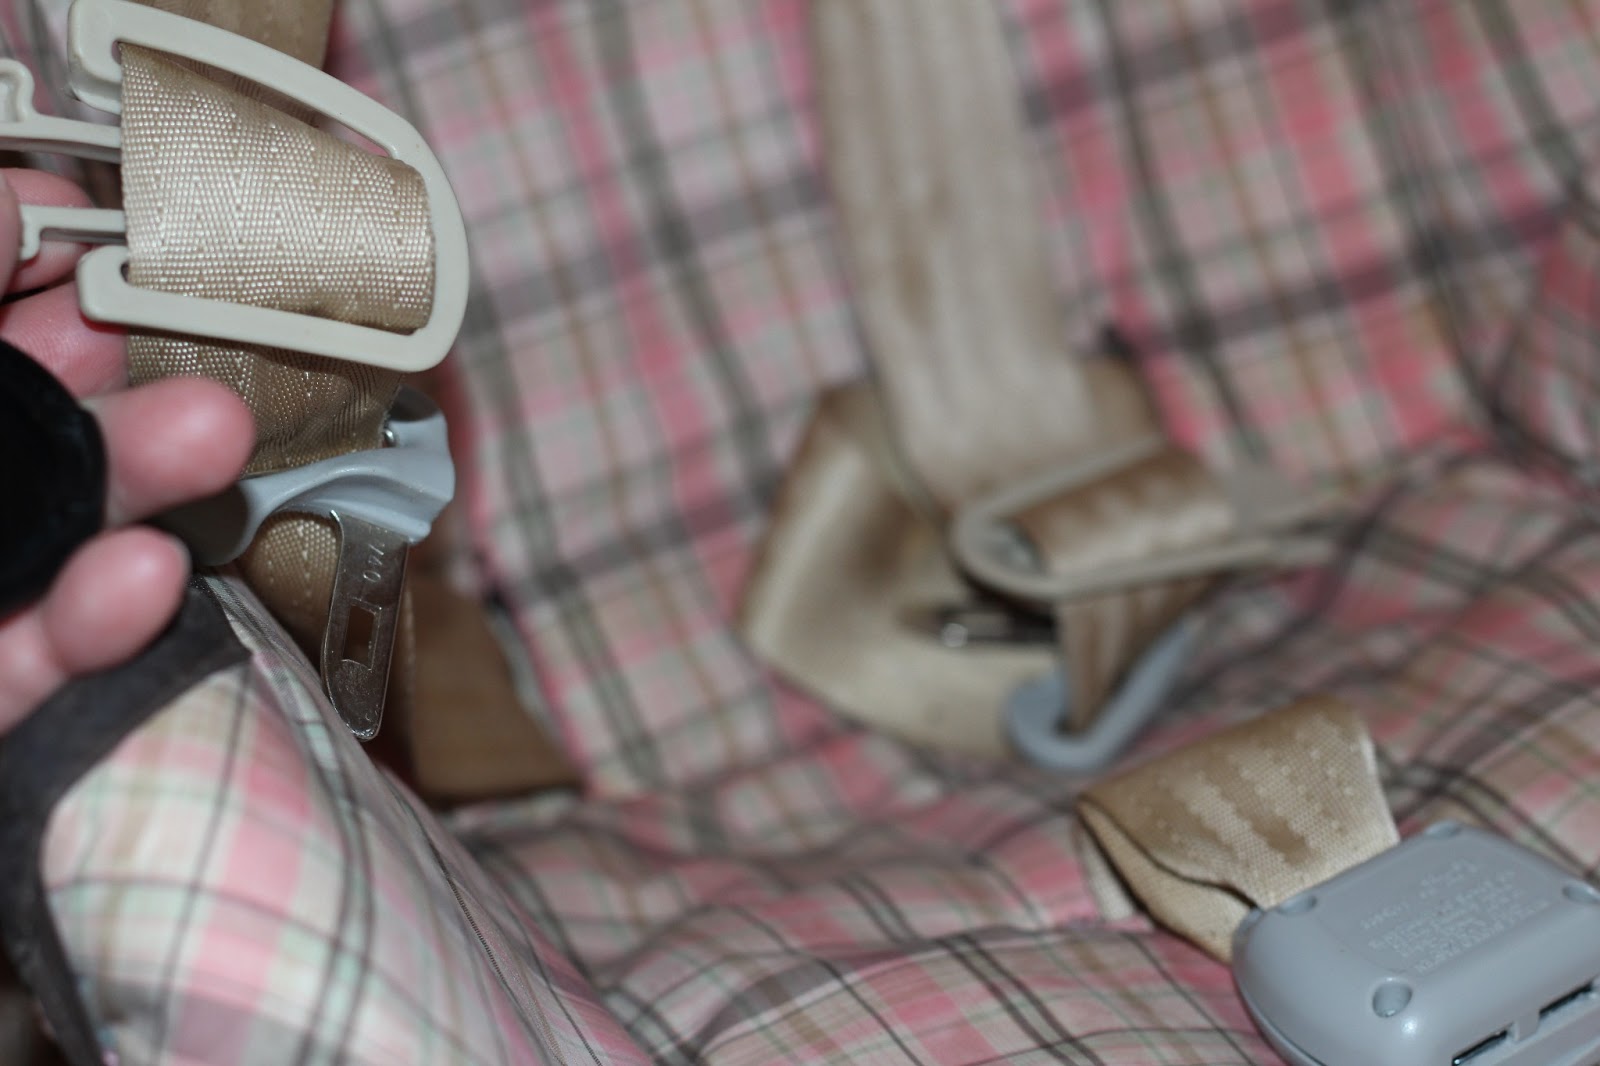
Take lots, and lots, and lots, and lots of pictures
Including pictures of how the straps all go back together.
even though both my carseat, and the one from the tutorial were both Gracos, they were really different.
So, take pictures of everything
I'm glad I took pictures of these darts, they were a little bit of a challenge:
But I got it to work:
And take pictures of each step as you unpick it:
If I had actually referred to my pictures more, I would have saved myself a lot of extra work when it came time to put the binding on...
Also, unpick carefully so you have an accurate template for the pattern.

I was better about looking at the pictures while making the canopy, and saved myself from a lot of frustration...
One thing I wanted to do was make it cute and unique. The tutorial I referred to was being made for a girl, and she put these adorable silk flowers on the top of the canopy.... It took me awhile to come up with an idea that was not girly (still getting my brain to shift gears) and finally decided to applique his initial on the top.
 I love how it turned out, and I love how it's still a Z from the other direction!
 I also made the new born head rest, again by unpicking the old one and using it for a pattern. (I don't think this was on the tutorial, but by this time I was a pro!)

And I used some strap covers from a friend to make the strap covers. 
I had barely enough of the polka dot and squiggly lined fabric, but plenty of the brown minky.
 I spent about 3-4 days working on this, so lots of hours, but it wasn't too hard, and I was so excited about how cute each step was turning out, it really kept me motivated!
 Plus, being so close to my due date... well, that probably kept me motivated as well.... 

 My biggest tip is to just enjoy how cute it turns out! 
Once again, here it is before:
And here is the after: 

What do you think?


Tuesday, April 2, 2013

Pink Dresser Reveal! (#53)


You remember this beauty? And how ya'll voted?

Well, I ended up having it done in pink! It matches the furniture for the playroom, and the little girl's bedroom... here it is, back in the garage after it was finished:


As you can see, my girls loved it!


Here are some pictures of it in their bedroom:

 Either because of my camera lens, or how small the room is, I had a really hard time getting a good picture of the whole dresser, so that's why so many at different angles...
 But you get the idea... and trust me, it looks beautiful!
 I can't even begin to tell you how happy I am with how it turned out!


What do you think?
Linked to:
Miss Mustard Seed
The Shabby Nest
Your Home Based Mom