Showing posts with label Furniture. Show all posts

Wednesday, June 18, 2014

Love Sac Cover (project 62)

While in Utah for a family wedding, I got to hang out with my sister-n-law and my sister. SIL wanted to make a cover for her Love Sac (which is a giant bean bag. Except that it's not filled with beans. It's filled with shredded foam... very comfy) You can see the Love Sac in the background. It had morphed into a shapeless blob. She wanted to make a cover for it that would give it more structure and shape.
 Buying a Love Sac cover costs about $300. She had seen an idea on a blog where you could sew a big tube and then circles on the end- like a giant bolster pillow- for a lot, lot less. So she bought $50 worth of fabric instead, and we got to work figuring it out.
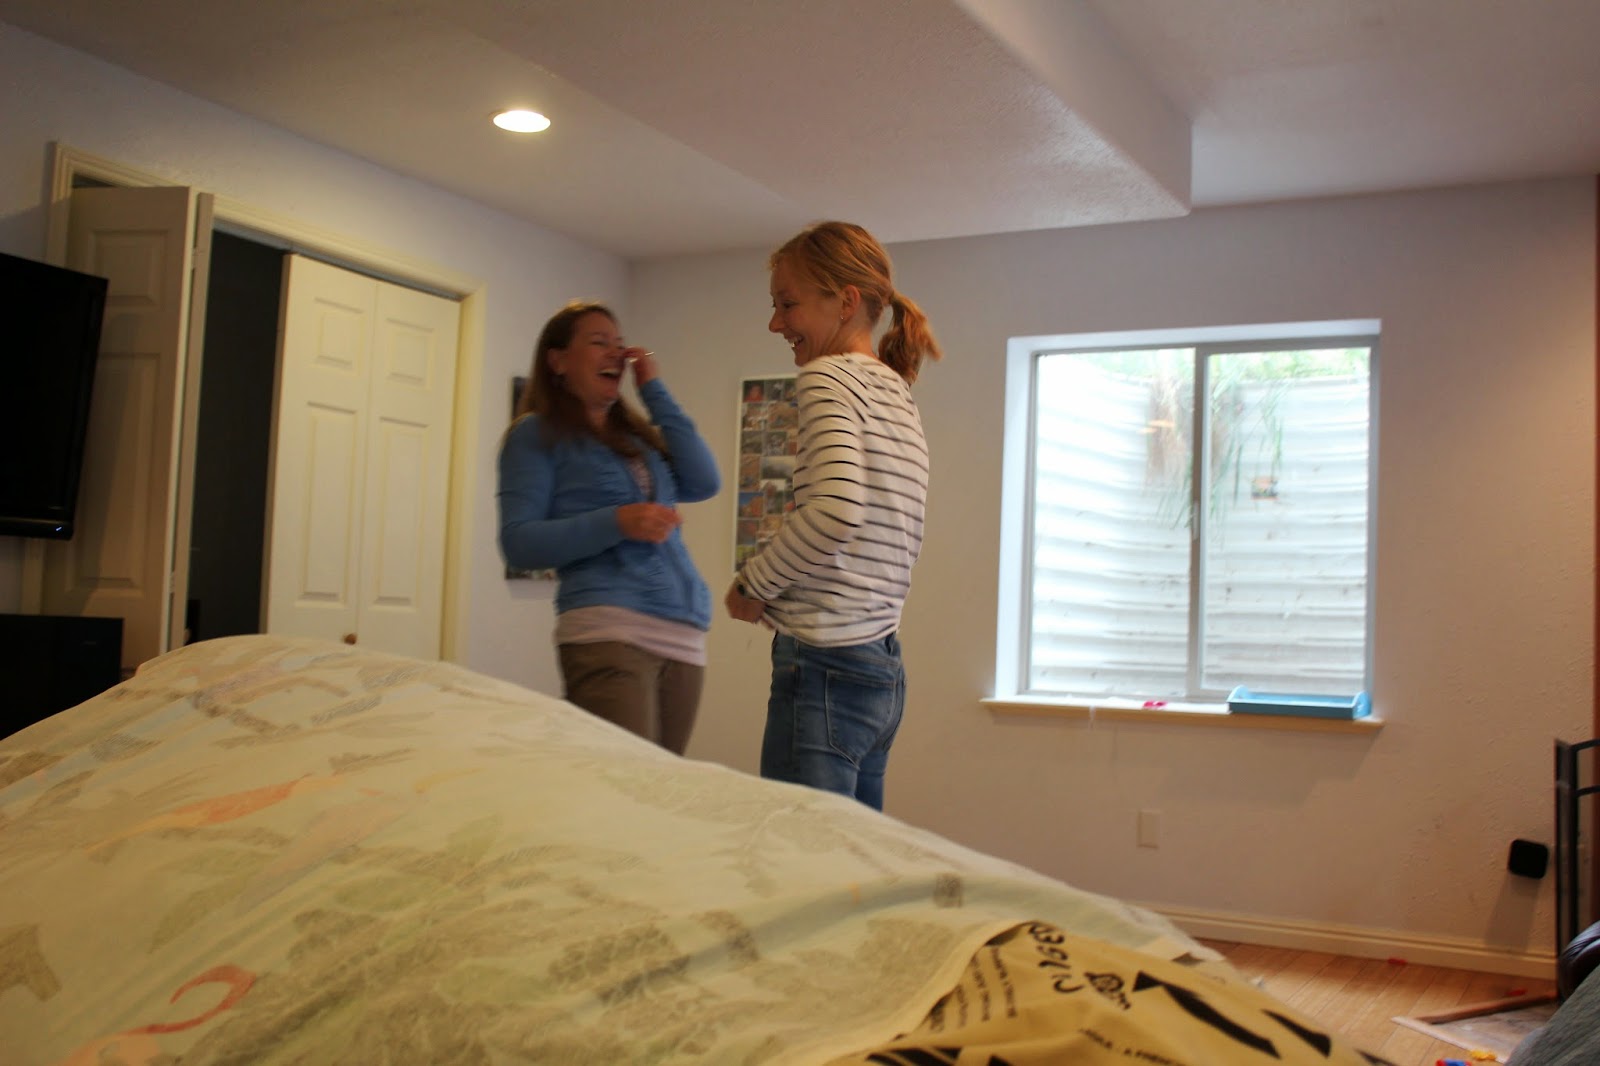
 Once we figured out the circumference of the sack (after measuring it and taking off about 12-15" that we wanted to "squish" it) we dusted off our old Algebra skills to figure out the diameter the circles needed to be. (you can see her cutting out the circles in the pictures above.) And by dusted off, I mean, we googled the answer...
 She sewed the tube, and we tried it on for size.
 Which was a difficult and somehow hilarious process...
which is why we are laughing our guts out!
 Then we unpicked it so we could sew velcro along the whole opening, because we (wisely) decided that would be the easier way to get it on and off. (Because it is highly likely that it will need to be washed at some future date. And/or she will want to sew a different one to change up her decor with the changing seasons... at least, that's what my sister- the photographer not pictured thinks)
Oh, we were so wise. Stuffing it in was a 4 person job. Which meant no one could take pictures of it!
Oh, and we also sewed the circles on the ends. Which had to be eased in, which just goes to show that algebra is not a perfect science.
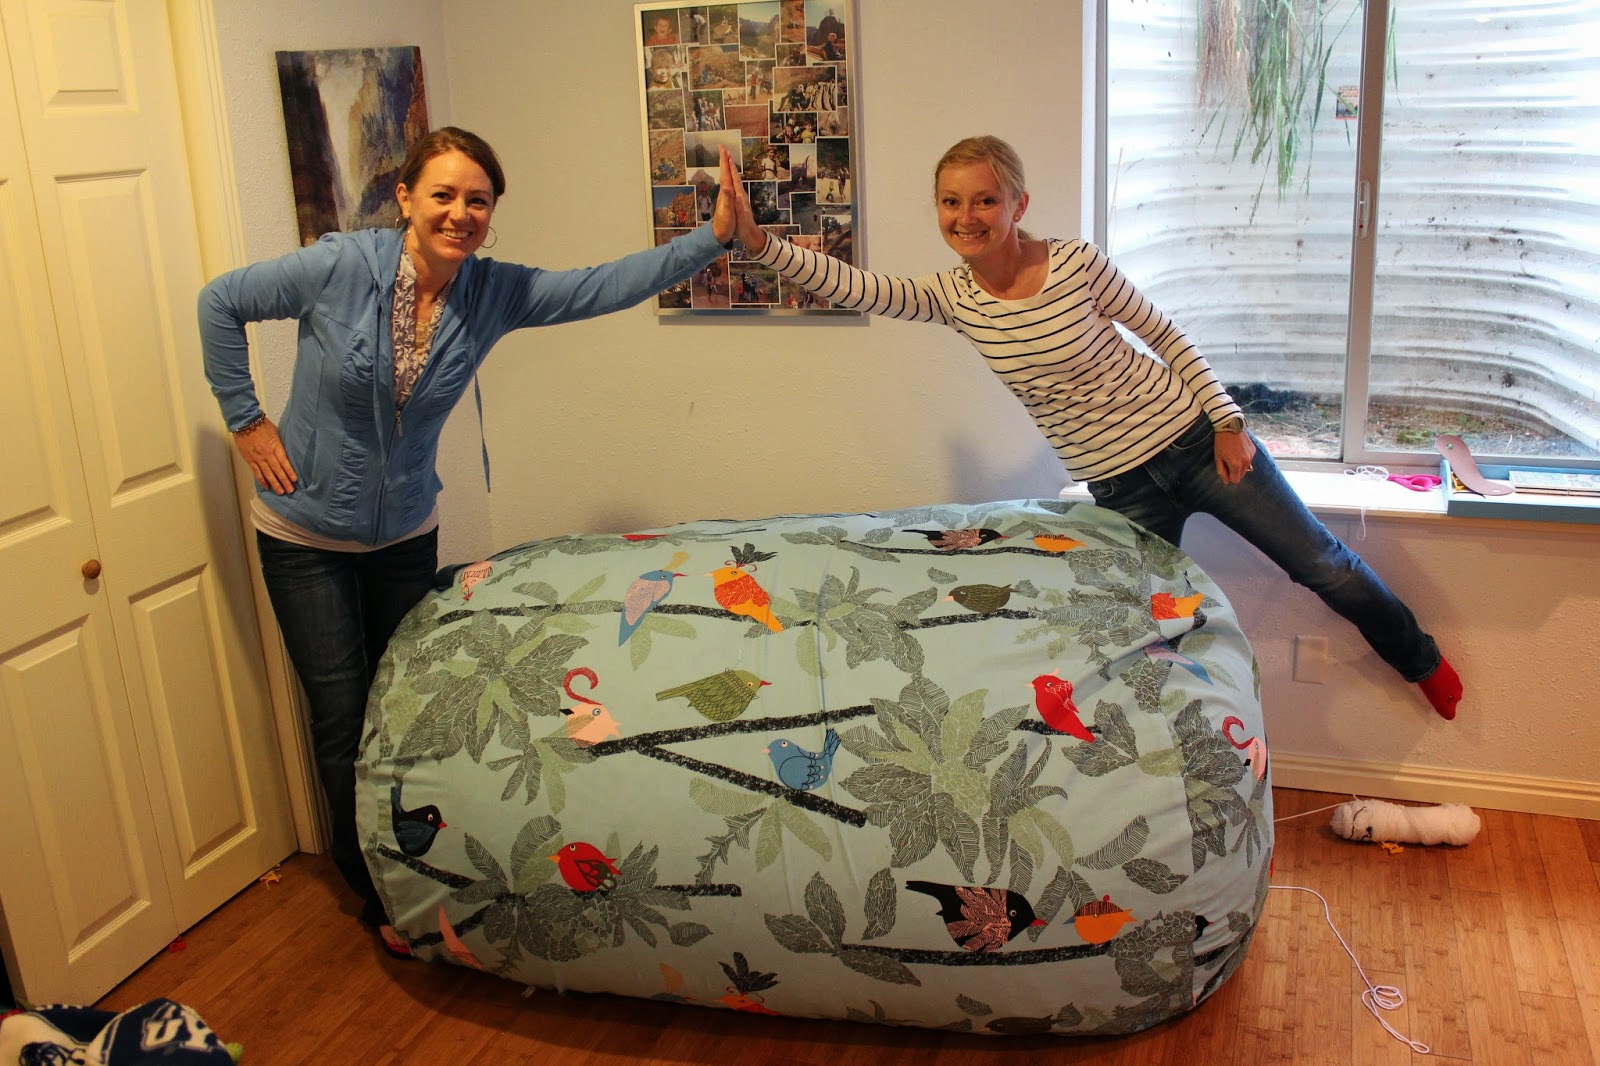
 But we got it on- and BAM! shape, structure, less blob-like, and stylish fabric focal point of the TV room.
So of course we high-fived each other for a job well done!
 And then we tested it!

 And then we let my brother and 2 of my daughters test it out!
 And in the midst of it all, my nephew never missed a beat on the video game he was playing!
AND, just in case she does decide to make another one, since this turned out so fun and awesome- here are the dimensions- so we don't have to repress our creativity with any more math and algebra!:
Radius: 21"
Diameter: 42"
Circumference: 132" (but do a little more so plenty of overlap for velcro and hem)
Width: 59"
But, before you forget, put in the comments how many yards of fabric you bought- because it was the perfect amount.

Tuesday, May 20, 2014

Lime Green Dresser (project number 60)

I'm way behind on my posts! We did finally finish the addition for the baby's room. BUT... I haven't posted any pictures yet because:
a. I was waiting for my new camera lens to arrive. My husband forgot to order it for my birthday... but it did get here for Mother's Day.
b. I wanted to finished the curtains first.
c. I wanted to finish the dresser  first.
d. I wanted to hang stuff on the walls.
e. None of the above got done because I was cleaning messes like this

SO... a. got done.
b. is half done.
c. IS DONE!!!
Here is the Before:
 I got this dresser from my in-laws basement about 10 years ago. It was being used to hold sports equipment by the basement door. I got it for my daughter (who is now 12) and have been planning on painting it... for 10 years!! It had kinda this white wash on it.
My in-laws have several of these exact same dressers. I think the story is that they were bought by my mother-n-laws parents after WWII from the US Army. They look like they are from that era.
 This government stamp on the back seems to confirm that too... I really should ask what they story was...

 It was solid wood and in pretty decent shape.
 I decided to just be bold and paint it LIME GREEN!!
 I've also decided- since doing a few dresser now- that I like to paint the inside of the drawers, the sides, and anything else that might show. It looks so much nicer. I also paint the bottom and the back.
 I mixed my own paint from the leftover paint from the Lockers, and some sage green I had. It was a teeny tiny bit more yellow than I wanted, but close enough for me!
 (can you see that Chevron fabric on my hutch? That's for the curtains!)
Well, I was afraid I would never get this done! My garage is a disaster, and every time I clean it up so I can work on something, another disaster mess project takes over. So, I decided that the only way I was ever going to get it done was to bring it inside. 
To my kitchen!
A friend helped me move it.
And then my husband justifiably complained that it was going to sit in our kitchen for a month! 
So I HAD to prove him wrong!!!
I ignored my children all my household jobs and the laundry, and pulled out frozen dinners, and got it done in 2 days!!!
Of course, I did have lots of help from my 3 year old
 And the baby kept wanting to help as well... I think there were several whiny texts sent to my husband about how hard it is to get projects done with baby's pulling on your leg. He was only sympathetic because I had left him with all 5 kids the previous Saturday afternoon.
And, I need to add, that I tried something new:
Chalk Paint
Homemade, of course. And now I'm going to share my thoughts on chalk paint (just skip down if you want to see the "after" pictures)
Besides having a chalky finish (not chalkboard paint- just Chalk paint- please don't try to write and draw on my dresser!) Chalk paint is touted as a paint that requires no prep work, like sanding and priming. It's also supposed to cover well and not require multiple coats of paint!!

Hey, sounds great to a girl trying to get something done and fast!!
Well... not so much. 

After the first coat, I saw how badly it needed nail holes filled, and just how dinged up it really was. I filled it in a little bit and sanded before the next coat, but it probably wasn't enough.
So, I still think that even if you use chalk paint, you still need to prep. (insert frowny face)
And, it needed 3 coats of paint.

I finished it with minwax furniture wax in natural, which is what I have used on stained pieces and I loved it on those. 
But, I actually wish I had use a poly finish on the dresser. But I don't wish that enough to sand it off and put on poly. I just wish it enough to use poly the first time on the next piece I paint.

Also: rinse out your brushes immediately after you use them. Soaking them in a cup of vinegar water doesn't work with all that gritty grout. 
Also, I was going to sand and stain it. I tried it on the back of the dresser to see how I liked it. 
I didn't. 
Maybe the stain was too dark, but I didn't want to load the babies in the car and head to Lowe's and buy more and delay it getting finished, so I didn't distress and stain it. I can do that later if I really decide I want to.

I probably will use chalk paint again... but I will prep first (although next I want to try milk paint...)

But, despite all of that, I LOVE how it turned out! I'm thrilled with it. And it doesn't have to be perfect, because it is just a fun piece of furniture to hold my sons clothes in! And, it didn't cost me anything!!




Tuesday, April 2, 2013

Pink Dresser Reveal! (#53)


You remember this beauty? And how ya'll voted?

Well, I ended up having it done in pink! It matches the furniture for the playroom, and the little girl's bedroom... here it is, back in the garage after it was finished:


As you can see, my girls loved it!


Here are some pictures of it in their bedroom:

 Either because of my camera lens, or how small the room is, I had a really hard time getting a good picture of the whole dresser, so that's why so many at different angles...
 But you get the idea... and trust me, it looks beautiful!
 I can't even begin to tell you how happy I am with how it turned out!


What do you think?
Linked to:
Miss Mustard Seed
The Shabby Nest
Your Home Based Mom


Monday, October 29, 2012

Project #40!!!! Hutch Makeover


If you read back to my post about staining my furniture you'll recall that I have a lot of this light pine that I wanted to re-do. I started with the end tables and hutch, and I'm happy to report that I finished them the last weekend in April, and moved them into my house!!!
Then my camera died so I couldn't take any more pictures...

....skip ahead 6 months... I have a camera now, and I looked through and saw this draft and realized that this post never got finished... because um,... oops.
So, the hutch has been in the house all summer. It just got moved again so we could put the newly done entertainment center in.
I did this one all by myself, and am super happy with it!!
Ok, I know this looks kinda sad, because it needs to be accesorized. I think you would be more impressed if I could put a before picture right next to it. But those are on my old computer. It's taken me awhile to switch to new camera and new computer....
I think I'm what they should call an apologetic blogger. It's a new term I just came up with.
This picture shows you the inside which did not get stained, so it shoudl give you a little bit of an idea of what the before looked like.


Monday, April 2, 2012

Corner Cabinet #38

LinkSo I bought this old corner cabinet at an estate sale just before we moved. I'm not sure what I was thinking... but I'm glad I did. Besides making an awesome Vanishing Cupboard for our Hogwarts Party, I really thought it would be great in our teeny tiny playroom loft for holding all the toys.
But, it mostly sat in our garage for months and months.... here it is with some cute kids I also found in my garage:

Then my husband took it on for the Thanksgiving and Christmas Holidays... and made it into this:
He added beaded board to the door inserts, new crown molding at the top (he is getting really good at crown molding... I'm resisting the urge to put it into my little girls bedroom...) we added a crystal door pull, painted it white, and viola! After some serious purging, it pretty much holds all the toys that don't go in the toy kitchen.
It even inspired me to hang pictures, a magnet board for my daughters drawings, and something to hang dress-ups on on the wall. Sorry the pictures aren't good. It's so tight (small) in this little loft, I couldn't get back far enough to get a good full picture!

Wednesday, March 28, 2012

Brand New Furniture for the price of a can of Stain

note: Gonna call the 1st end table project #37...

So we have this pine furniture that we bought almost 12 years ago. We loved it. So much that we bought: a hutch, a TV Ar moire, 2 side bookcases for it, 2 end table, and a book case. All matching, in the same light colored pine. It's been completely functional, and we've loved it. Until we moved into this house, and it just wasn't working anymore.
It was better after we got rid of our old couches, but still wasn't working.
We even moved the hutch to the garage, and considered selling it on Craig's List. Then I saw on someone's blog that they had a front door to their house that looked just like our furniture, and they had stained it a dark espresso color. It looked awesome. I showed the pictures to my husband, and we decided that it would be worth trying. So, I decided to try it on one of the end tables. They were the smallest, cheapest, and most expendable, in case it didn't work...
And although my photos are terrible, it did work, and it looks awesome! So, I am now in the process of doing the other end table and the hutch, and we are planning on doing it to all of the furniture- so stayed tuned as I reveal the before and after photos on all of those.
I'm even considering doing the dining room table.
I am trying to figure out the best protective finish to put on them. I'm going to try Minwax finishing paste, that's what another furniture blogger recommended, but I know I'll need something more heavy duty for the table- something that will hold up to daily spills, water, etc. What do you recommend?

Tuesday, January 24, 2012

Lockers Project #34

Before the Big Move last year, we had been searching for a new dresser for my son. An evening spent at all 5 of the furniture stores in the town we lived showed us that:
1. There was no dresser for sale for less than $500.
2. All the dressers for sale were cheap, with hard to open drawers.
3. We didn't see 1 dresser for sale made out of real wood.
4. Maybe we didn't really want a new dresser after all?

Then I talked to my friend, Aubrey, about it, and she had seen pictures on a blog of a locker in a boys bedroom.

hmmm... a locker? I started calling 2nd hand stores, and was sent to the flea market. By word of mouth, I found a guy who said he had some in a storage unit. He said if I came back that Saturday, he'd have some.

Well, they were pretty beat-up, with lots of spider webs. But, I wouldn't be a project-a-holic if I wasn't cursed with that ability to see the potential in something like that. $30 for a section with 6 lockers. I had to at least try.

Then I got pregnant, we moved, blah, blah, blah....

My husband finally painted them when he had some time off. We bought a paint zoom paint sprayer, and he loved it. Can't wait to try it on some other projects.
I'm really disappointed that I can't find the before pictures. They were bad. Picture that weird not-quite-brown, but not-quite-gray color with lots of rust.

We moved it into the hallway, and since I don't have a mud room, this is where everyone gets to hang their backpacks, jackets, and keep their soccer and dance gear. It's great.

Colors: black and Valspar Martian Green. It probably glows in the dark, but I haven't tried that out yet. I think if you're doing something metal- go with a bold color.


Wednesday, December 1, 2010

Finished Project #11- Kid folding Chair makeover


This chair above used to look brand new. Because I was smart and stored it inside the house, and only pulled it outside when we needed it.
But then, we had my family reunion in May, and I was pregnant, and getting the house ready to sell, and somehow that chair just stayed outside. During the whole, hot New Mexico summer. I'm sure if we had packed ourselves, it would have just been thrown away. But it got moved to Texas with the rest of our stuff, so I thought I ought to do something with it.
So, here it is all made-over into a pink pretty chair.
I know that those before and after pictures can make things look SO easy. And in reality, this should have been an easy make-over. Something I should have been able to do during one afternoon while the older kids were at school, and the 3-year old was napping.
But here's what really happened:
When I unscrewed the seat and back covers I realized that I needed some needle-nosed pliers to get the staples out. I had no idea where in our messy, unpacked garage they would be.
So project went on hold until I could borrow some from my sister-n-law.

One of the reasons I decided to take on this project was because I thought the only supplies I would need was a can of spray paint.

I only found one scrap of pink fabric that was the right dimensions to work, and it was my least favorite... but I wasn't going to spend extra $ on this, so I went with it. I did have enough padding, but the clear vinyl? Even though I had lots of it, the pieces were all 1 inch short of being wide enough (AARGH!) So, $1.50 and a quick trip to Walmart got me enough, but in the meantime, the project went on hold.

Then, I decided that since I was going to use all the same screws again, I'd better put them in a plastic Ziploc baggie to keep them all safe. I was literally putting them in when one of the screws that holds the back on, fell from my hands (gravity is so cruel to us pregnant woman), hit the kitchen floor, and before I could bend over to pick it up, it rolled under the oven.

I thought about asking my husband to retrieve it. But he is much more practical than me and would know that it was not worth it. In fact, when he saw the chair taken apart, he asked why I didn't just throw it in the garbage. (So I knew there was no sense asking for his help on this project) Luckily, I had the other screw, so I could find one to match- right?
So that also put the project on hold until I could get to Lowe's

Now, a word about Lowe's: I think they are awesome. We didn't have one where I used to live, and it almost makes it worth the move. So, one day I packed me and the 3 year old up and we went there with my one screw. (I can't believe I am confessing this where my husband can read it) Oh, I forgot to mention that the screw was sawed off to about 1/4 inch long so that it didn't poke all the way through and hurt a little kids back while they were sitting on the chair.
The helpful man found me the right size screw, but then, I explained how I needed it sawed off, and gave him my pathetic helpless pregnant woman eyes while my curly-haired 3 year old smiled at him. I've had wood cut at lumber stores, so I assumed you could get metal things cut too. He thought for a minute, then walked over and opened up a new hack saw, put the screw in some vices that were on display, and cut me three screws at the proper length. I thought they had a shop where they would cut it.
Talk about service.

Then it was time to assemble it. I was so proud that I had managed to find my staple gun in a box I had unpacked, and I went to work. I was about half way through re-upholstering the seat when it ran out of staples... so it went on hold again until I could make it back to Lowe's to find some staples for the gun.

To be honest, it could have used another coat of spray paint (next time I'll use primer first) but the can was empty, and after all this effort (even though by this point my husbands idea of throwing it away looked really tempting) I was determined that it was just going to get done!

So it did! The vinyl was pretty stiff, so hard to put on the chair back because it curved, but my daughter was thrilled with it, and now we have 3 little pink chairs to go around the princess table! We really needed it, because when my daughter has her 2 cousins over, they can all eat and play there!